AuraSim Platform – Client Operations Manual
1. Purpose
This manual explains how to install, access, and operate the AuraSim platform applications, including the AuraSim streaming environment (Isaac Sim), RobotVM (Ubuntu VDI), and other bundled modules. It is intended for new client users after onboarding.
2. Platform Overview
AuraSim provides a unified workspace for robotics simulation, development, and runtime operations:
- AuraSim (IsaacSim Streaming): Cloud-hosted NVIDIA Isaac Sim session streamed to your desktop.
- RobotVM: A developer-focused Ubuntu-based virtual desktop with pre-installed tools (VS Code, ROS, Python toolchains, GPU-enabled dependencies).
- FileBrowser: Unified file management surface for uploading/downloading assets shared between AuraSim and RobotVM.
3. System Requirements
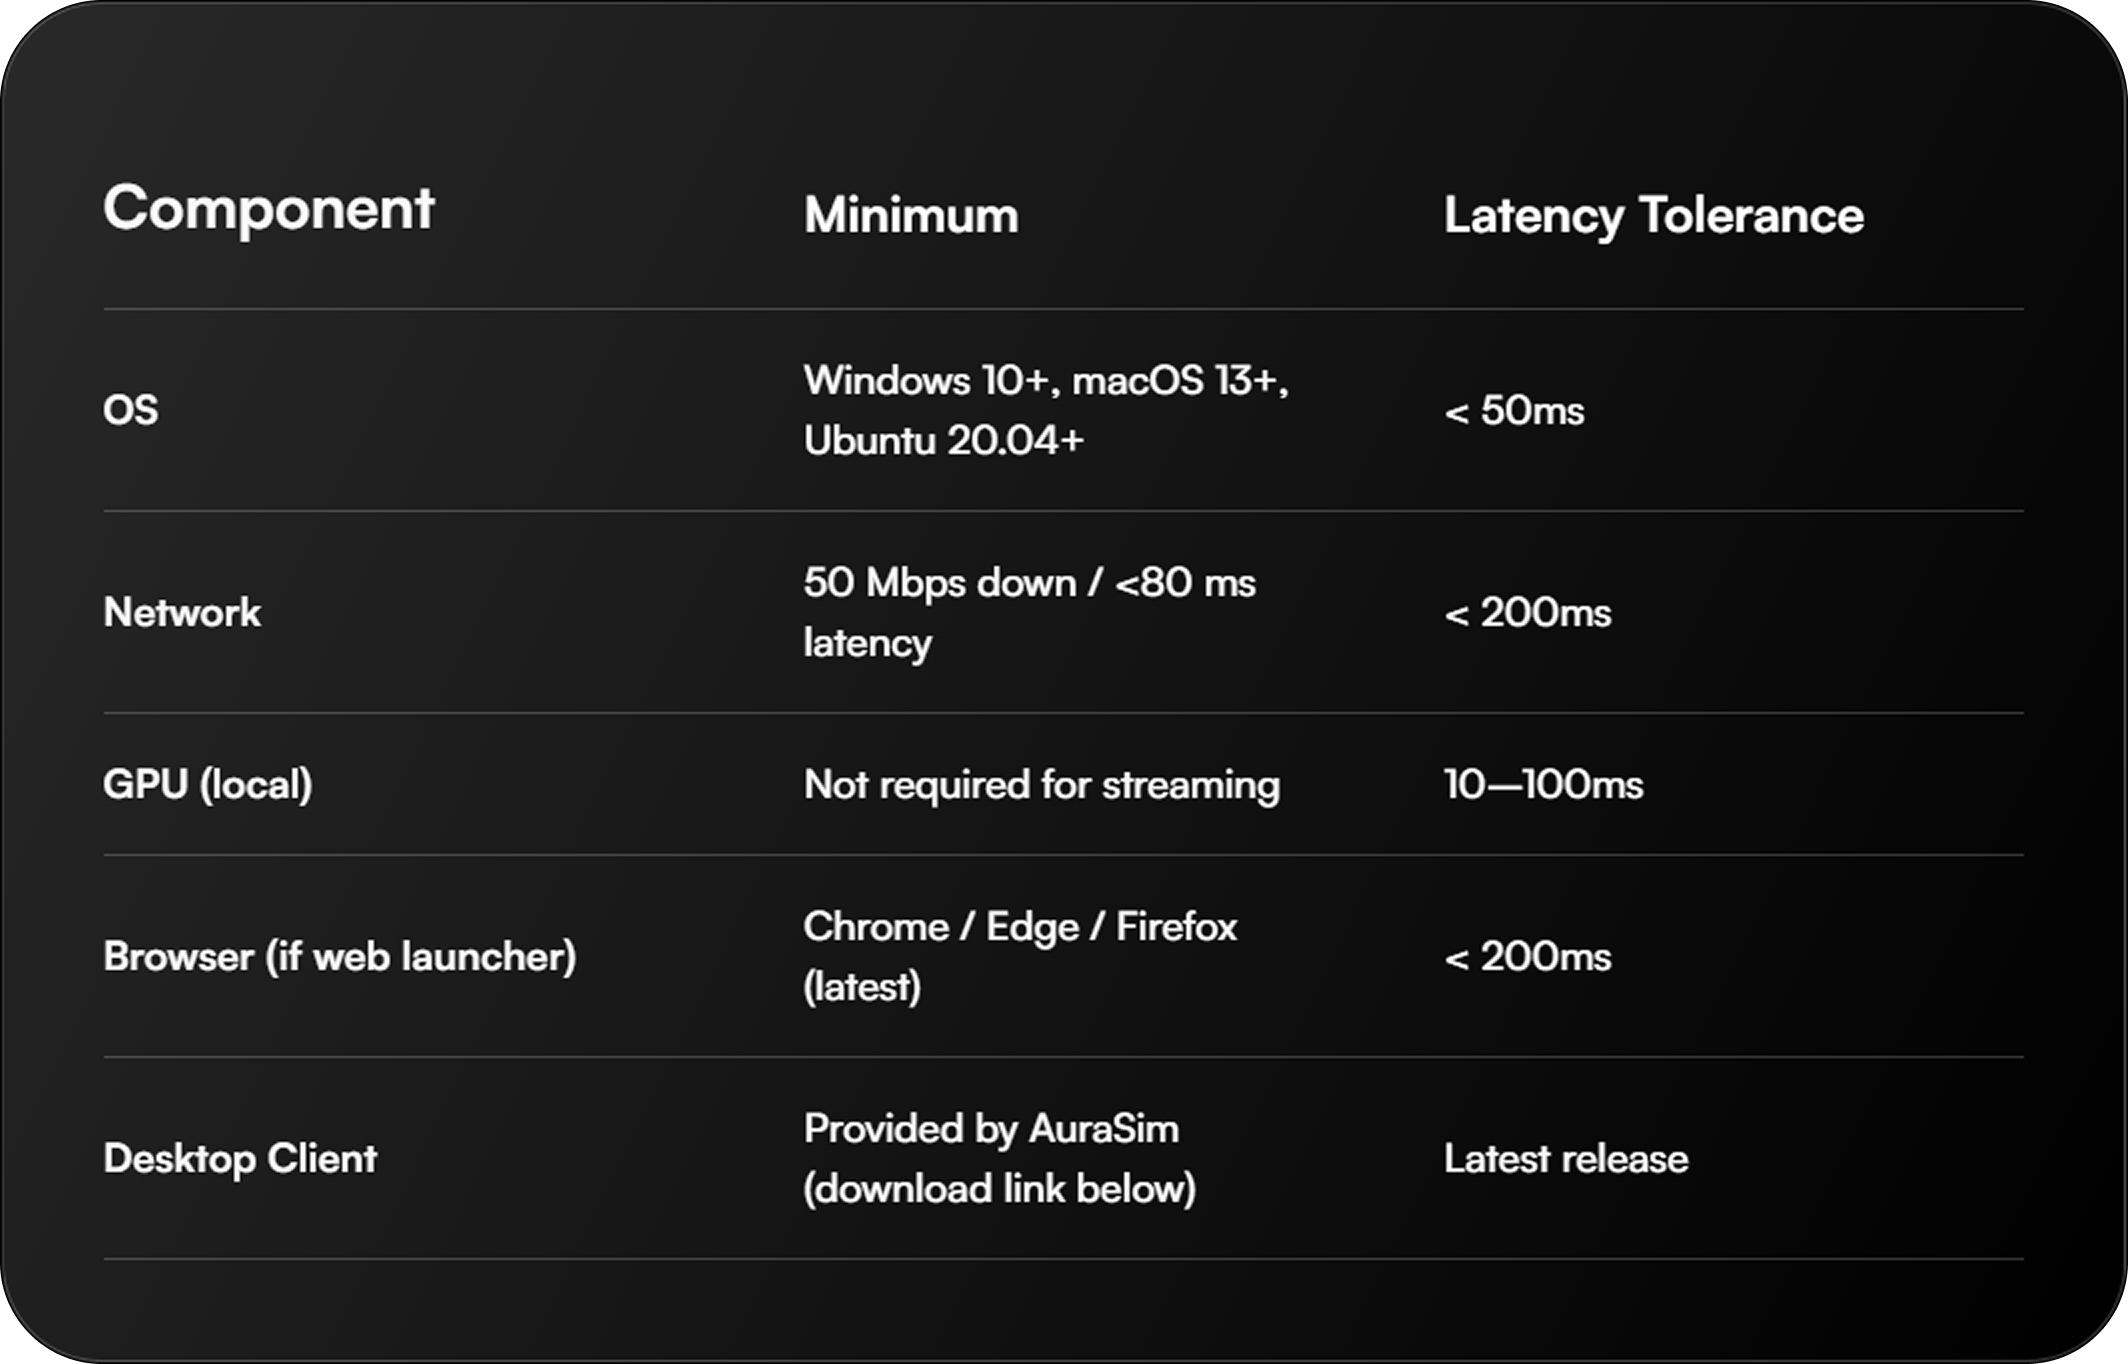
If your deployment is browser-only, remove desktop client references.
4. Security & Access Model (High-Level)
- Authentication: Username/password (or SSO if enabled).
- Data Isolation: Each tenant workspace is logically isolated.
5. Installation
5.1 Download
- Navigate to the download portal: GDrive Link
- Select the file based on your OS.
- Download, Save and run the installer.
5.2 First Launch
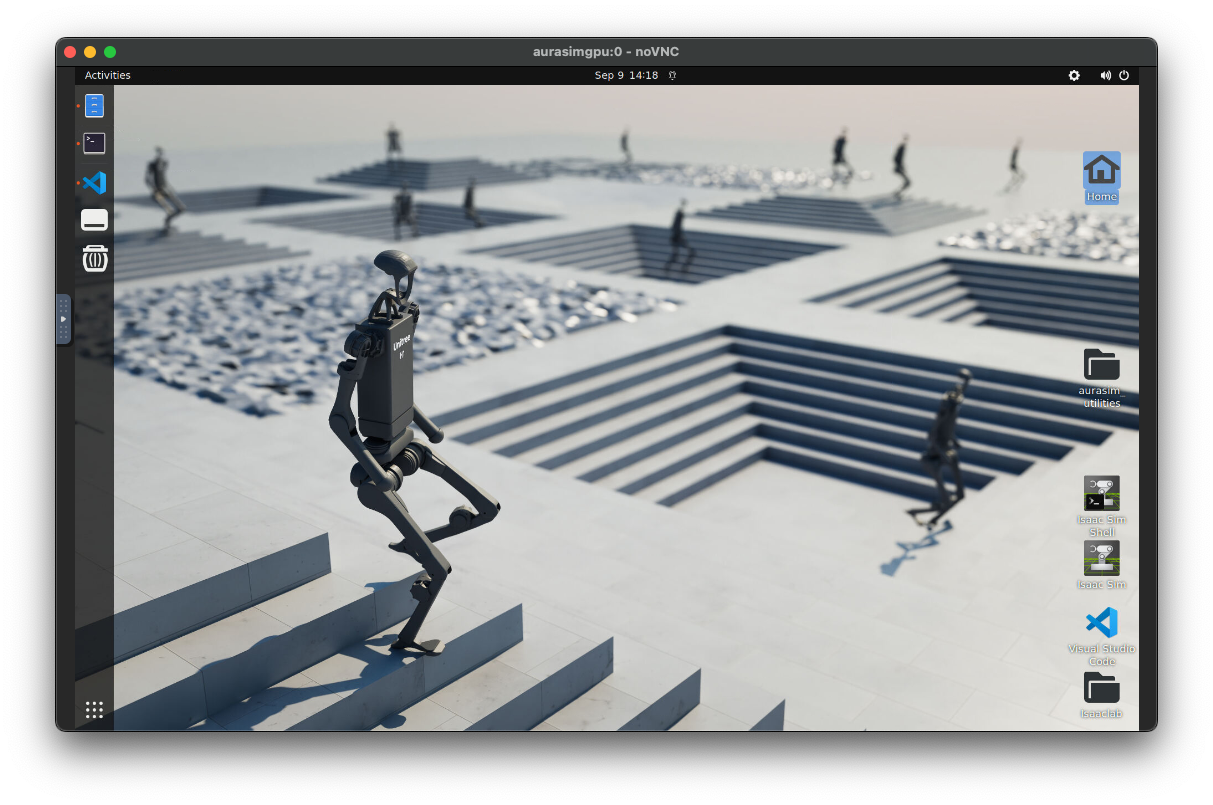
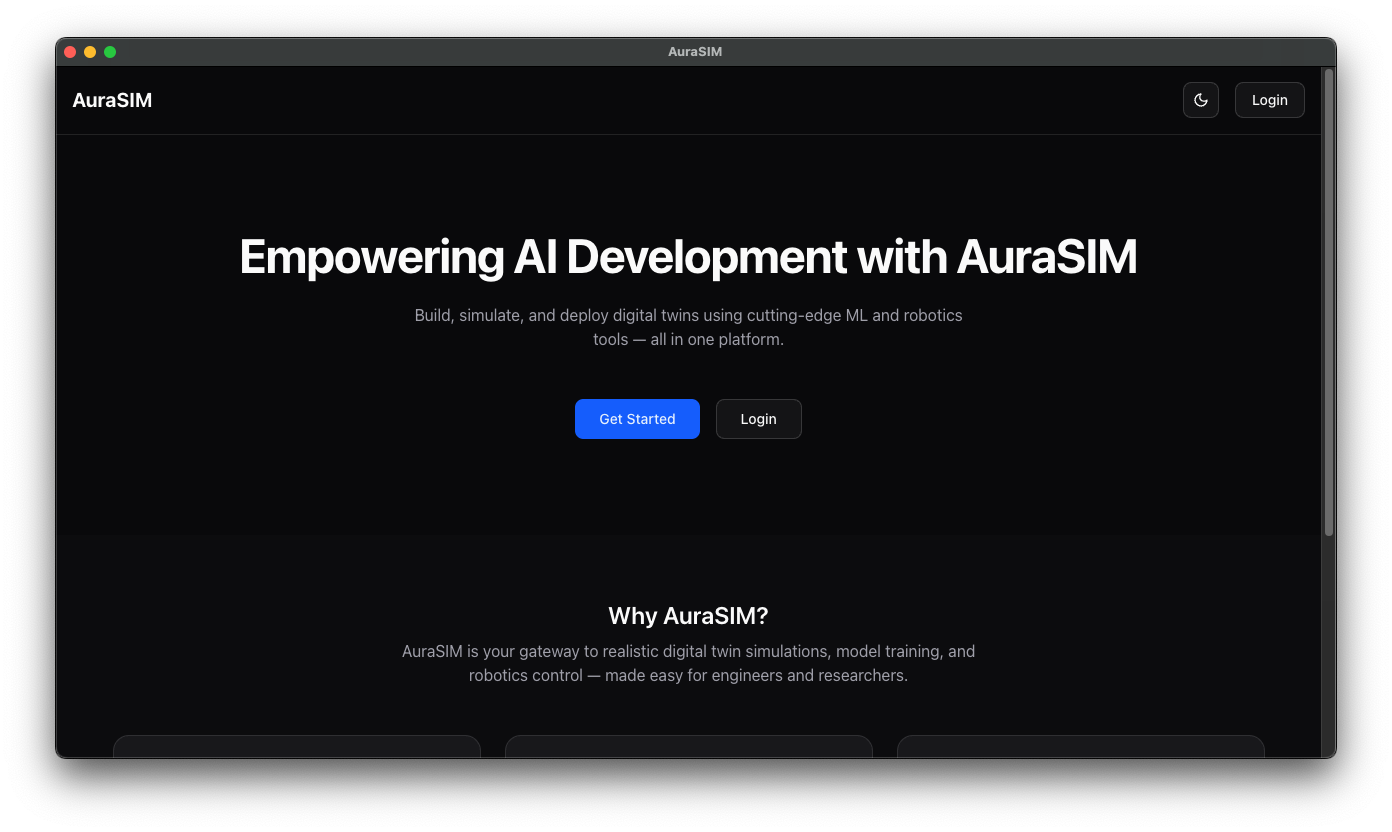
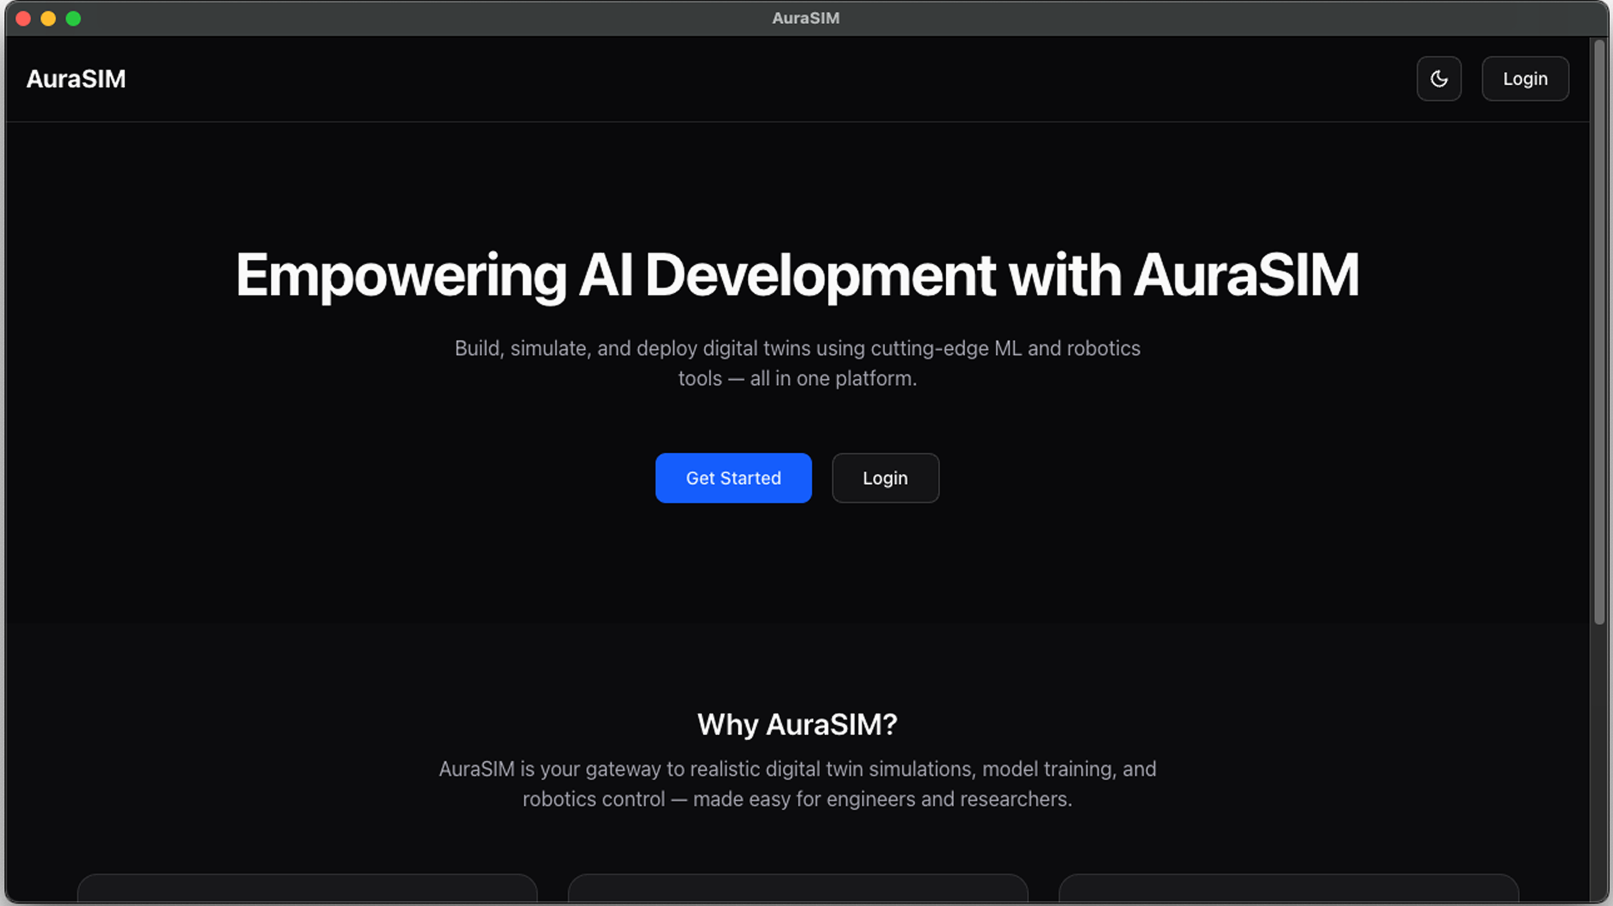
- Open the installed application ("AuraSim" desktop app). You should see the Landing view, then proceed to Login.
6. Account Login & Onboarding
6.1 Landing & Login
- From the landing page click Login or Get Started.
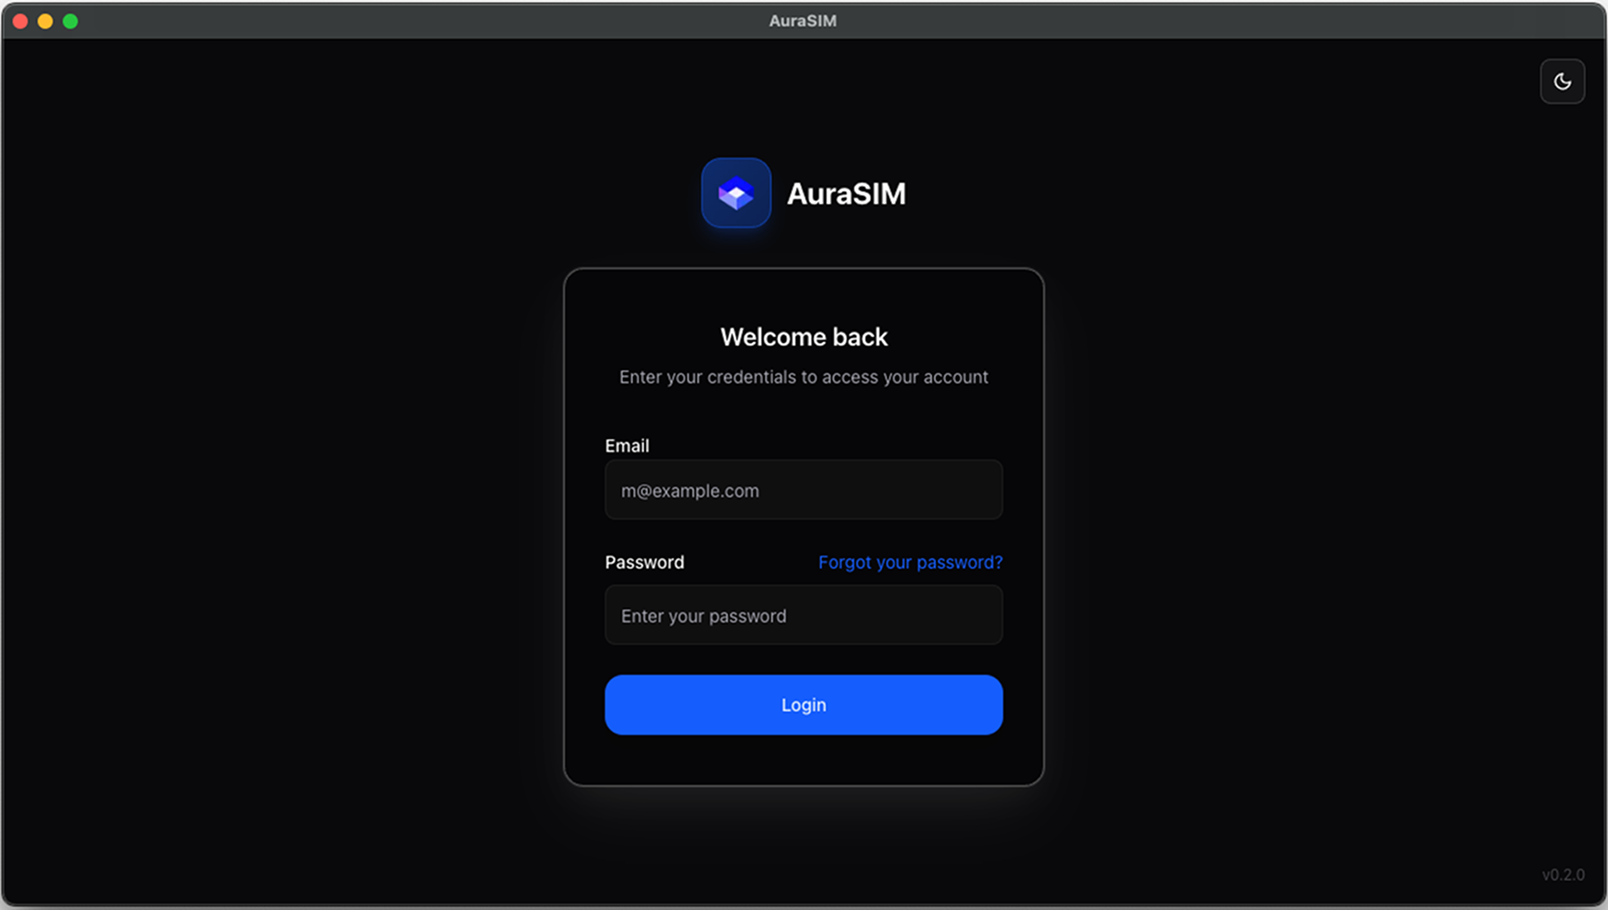
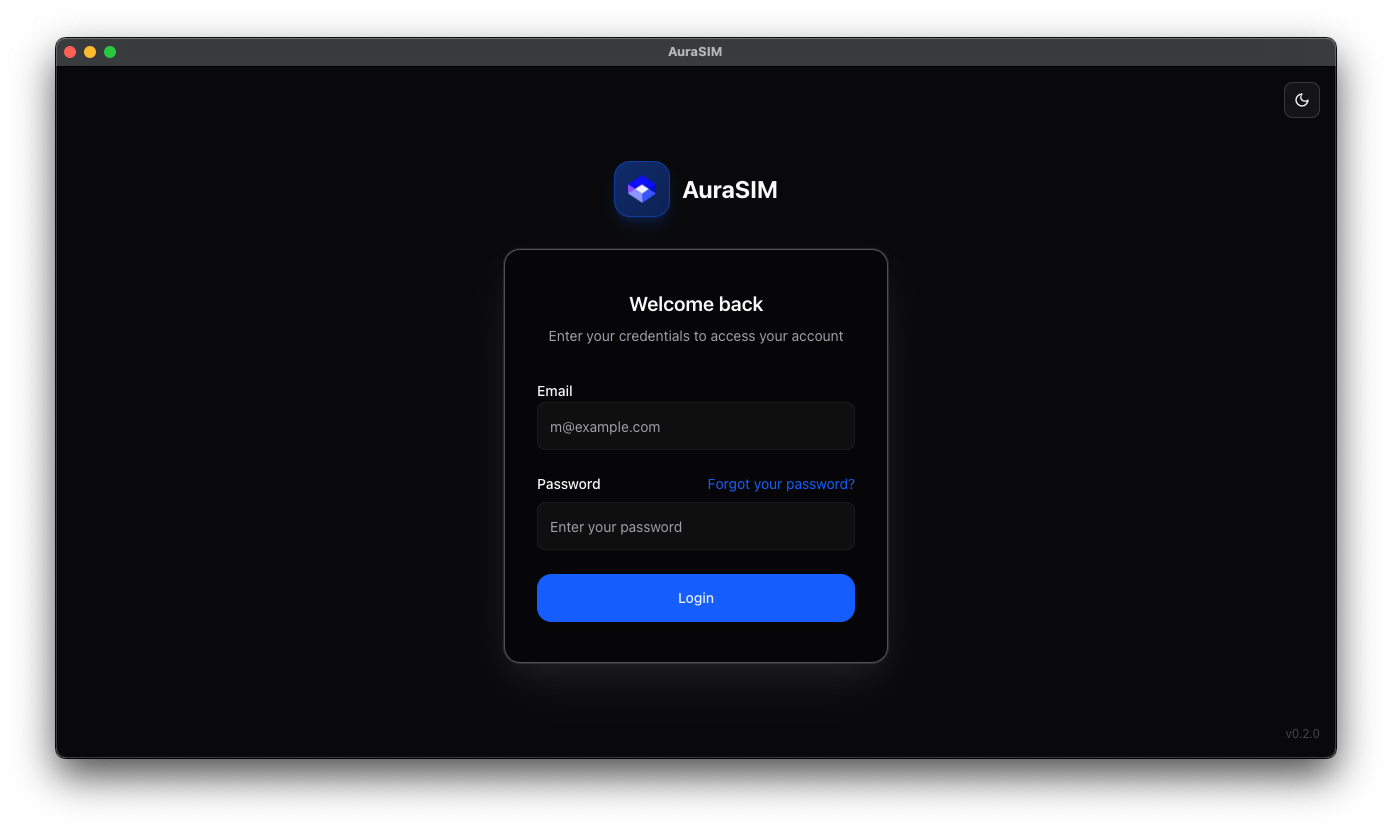
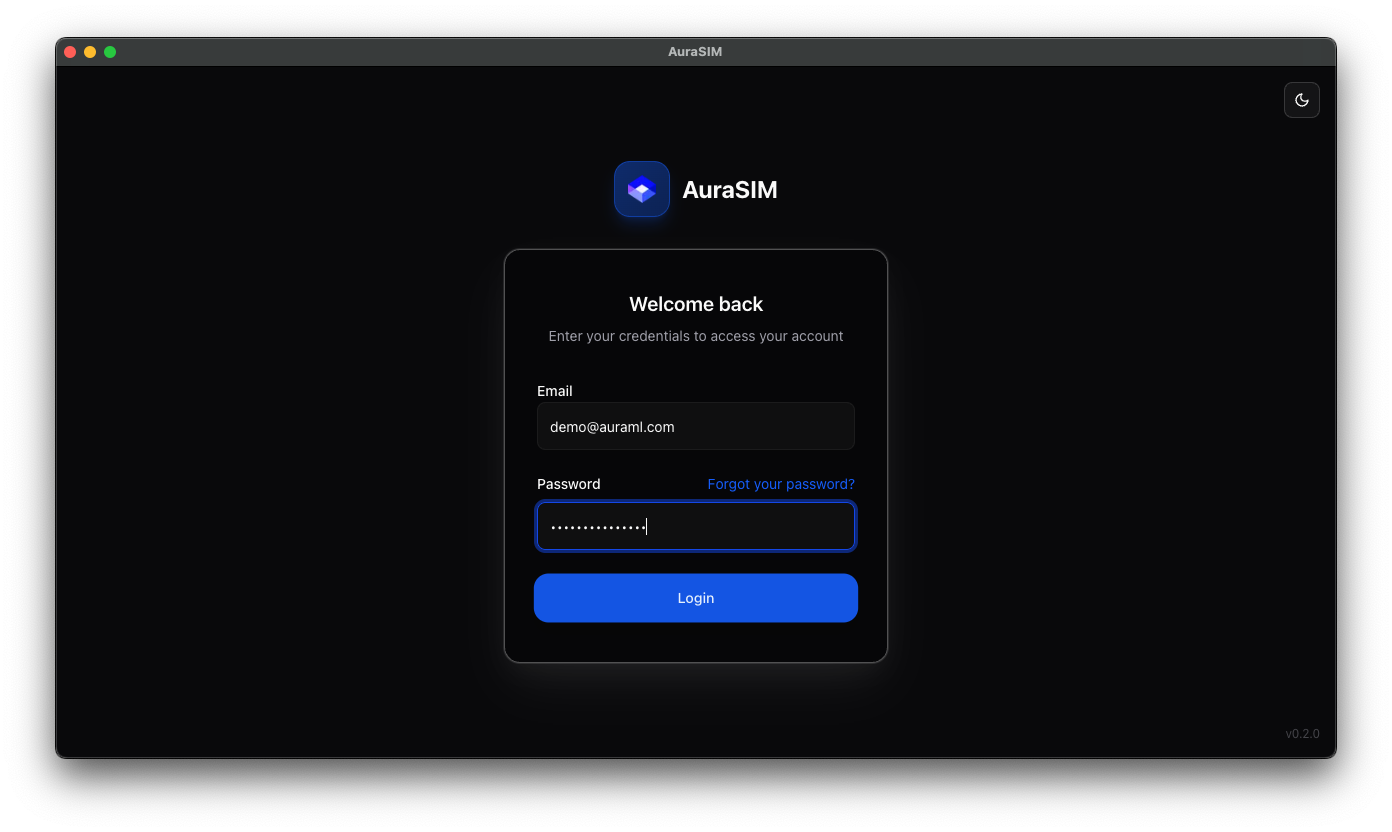
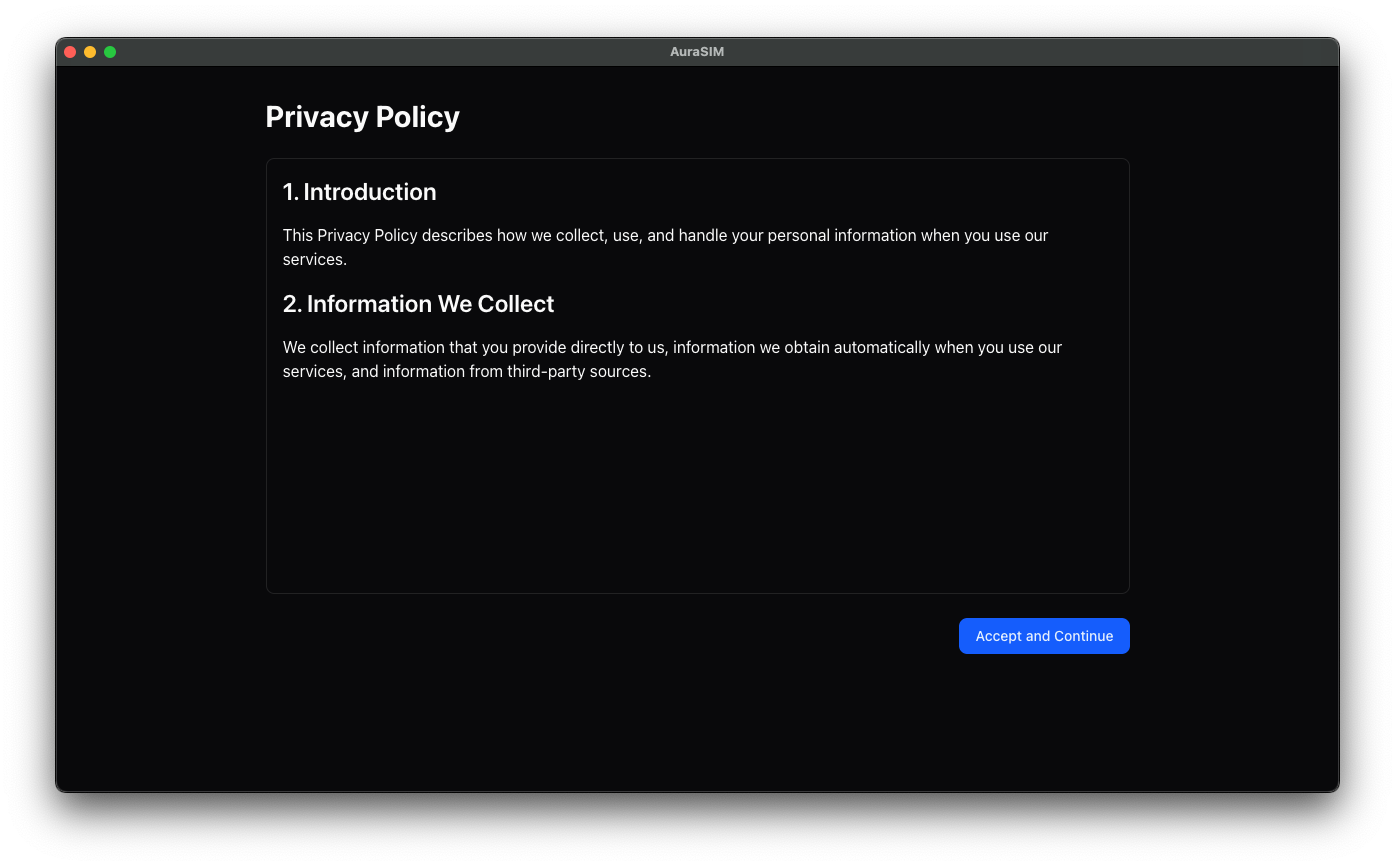
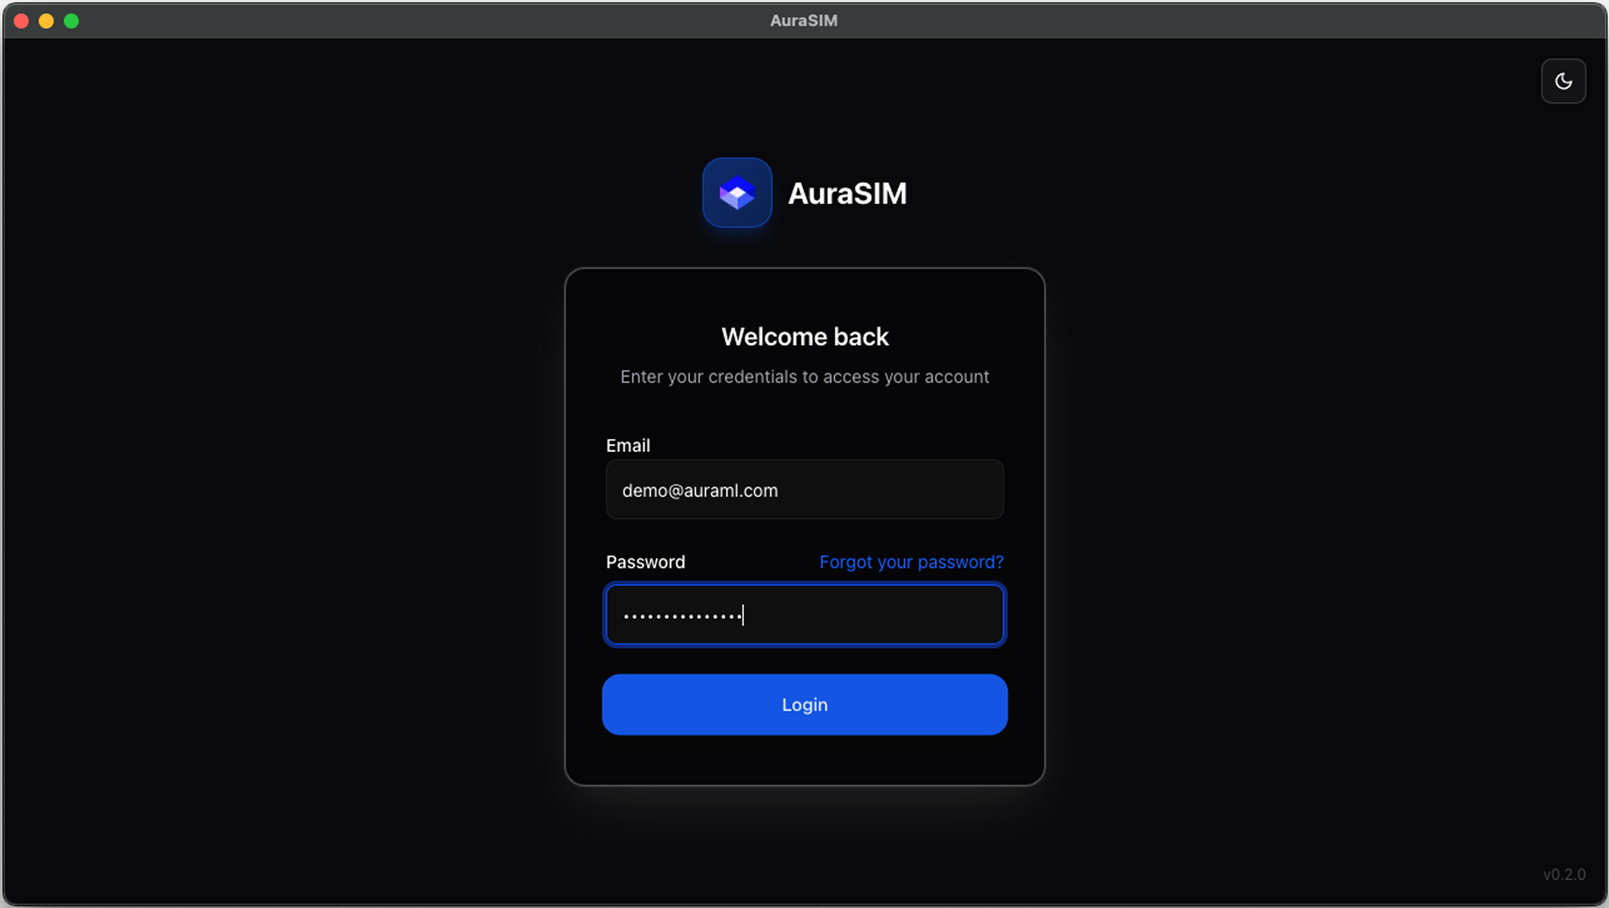
6.2 Credentials & First Password Change
- Enter the credentials provided by your admin (email + temporary password). If prompted, set a new password.
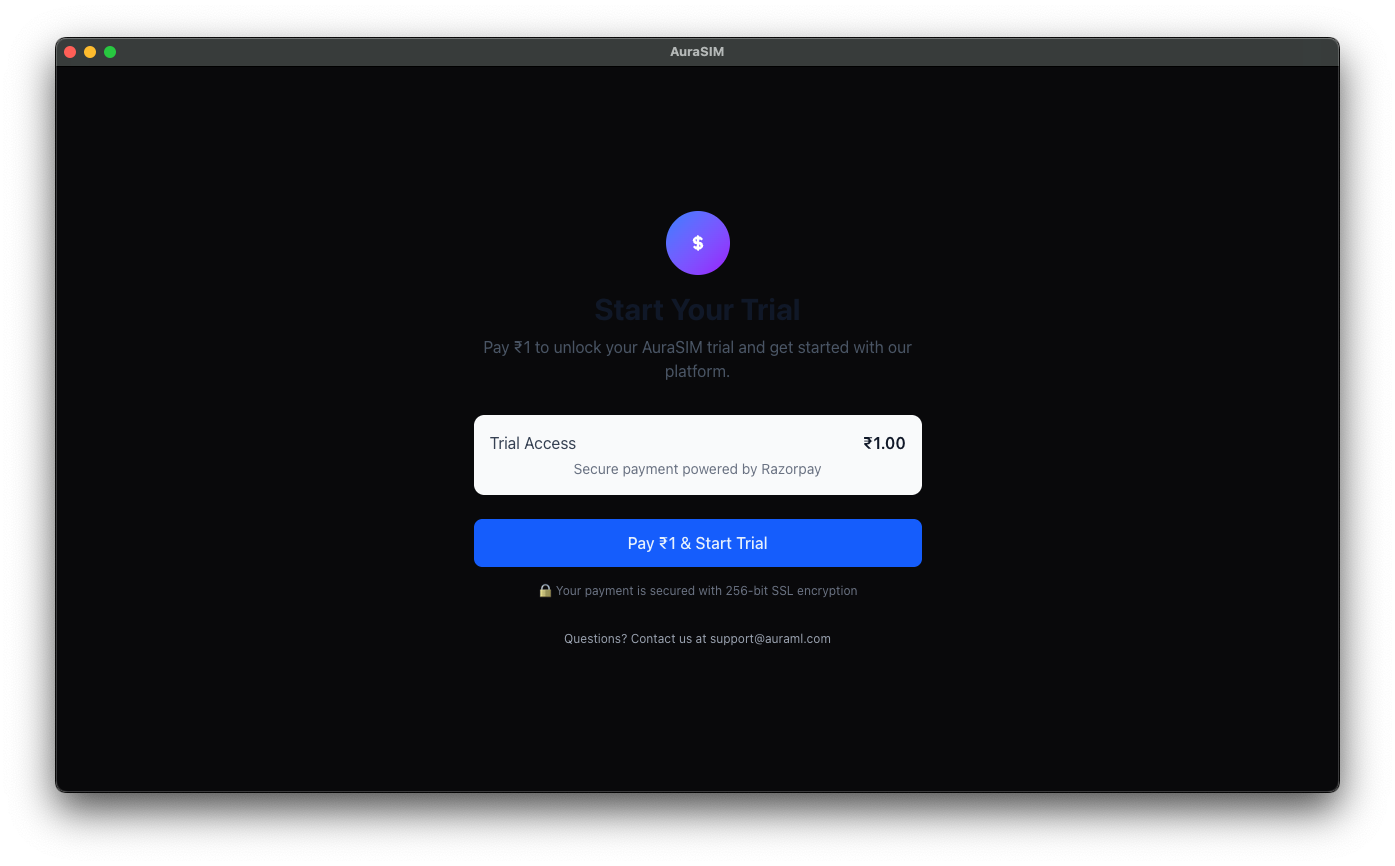
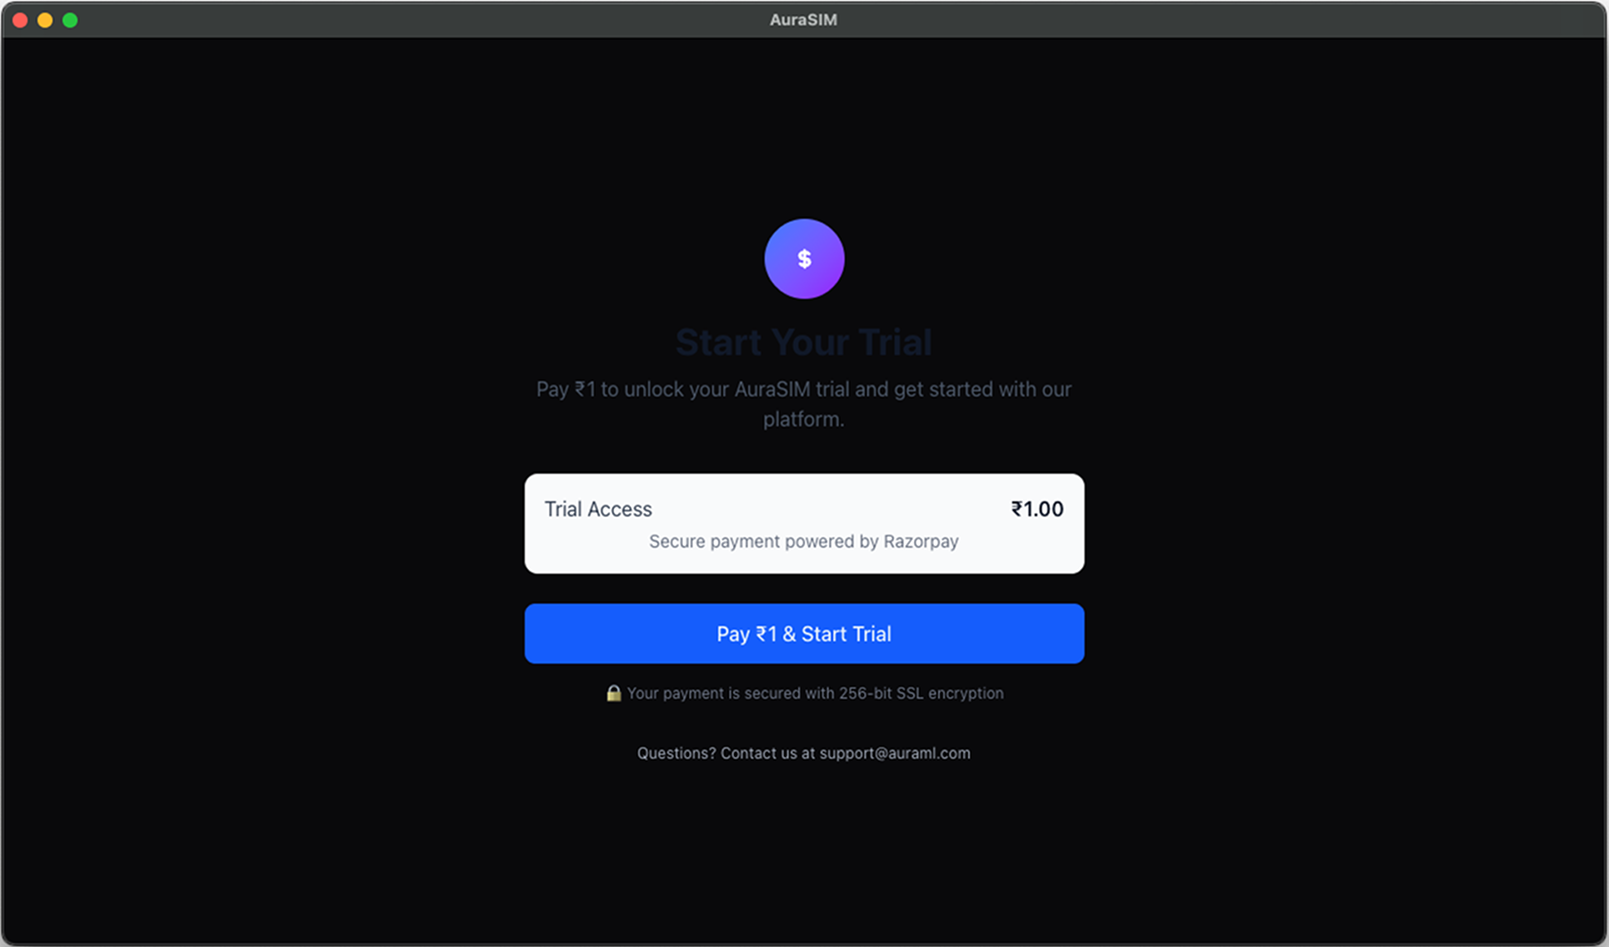
6.4 Payment Activation (If Required)
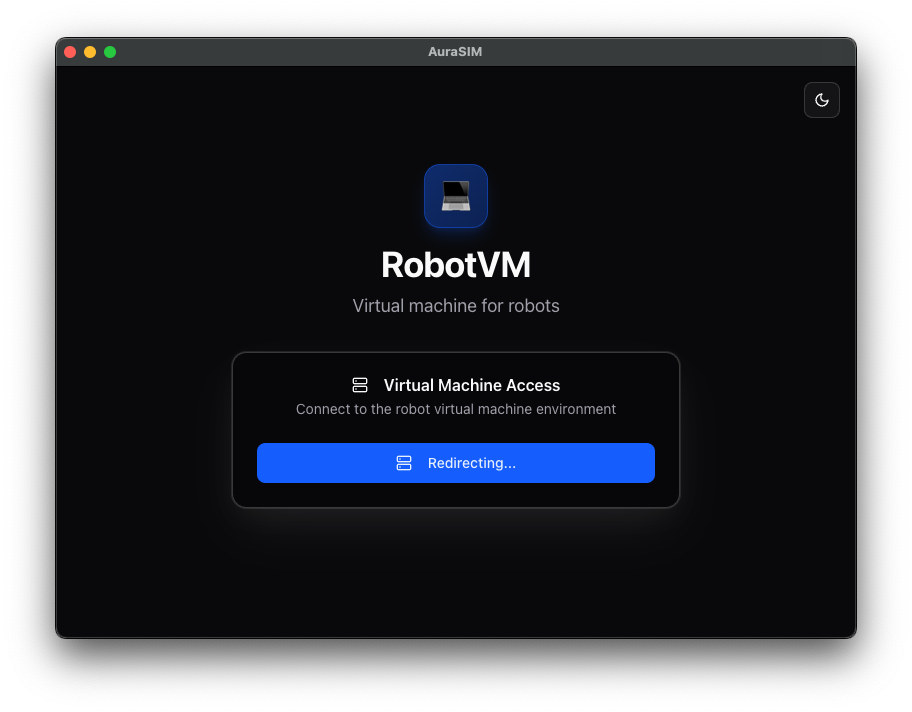
- If your account requires activation via payment you are redirected automatically (details in Section 7). Otherwise you proceed straight to the dashboard.
6.5 Redirect to Dashboard
- After onboarding (policy + payment), the dashboard loads automatically (see Section 8 for details).
7. Subscription & Payment Flow
7.1 Start Payment / Plan Selection
- User selects a plan or is auto-routed if only one plan exists.
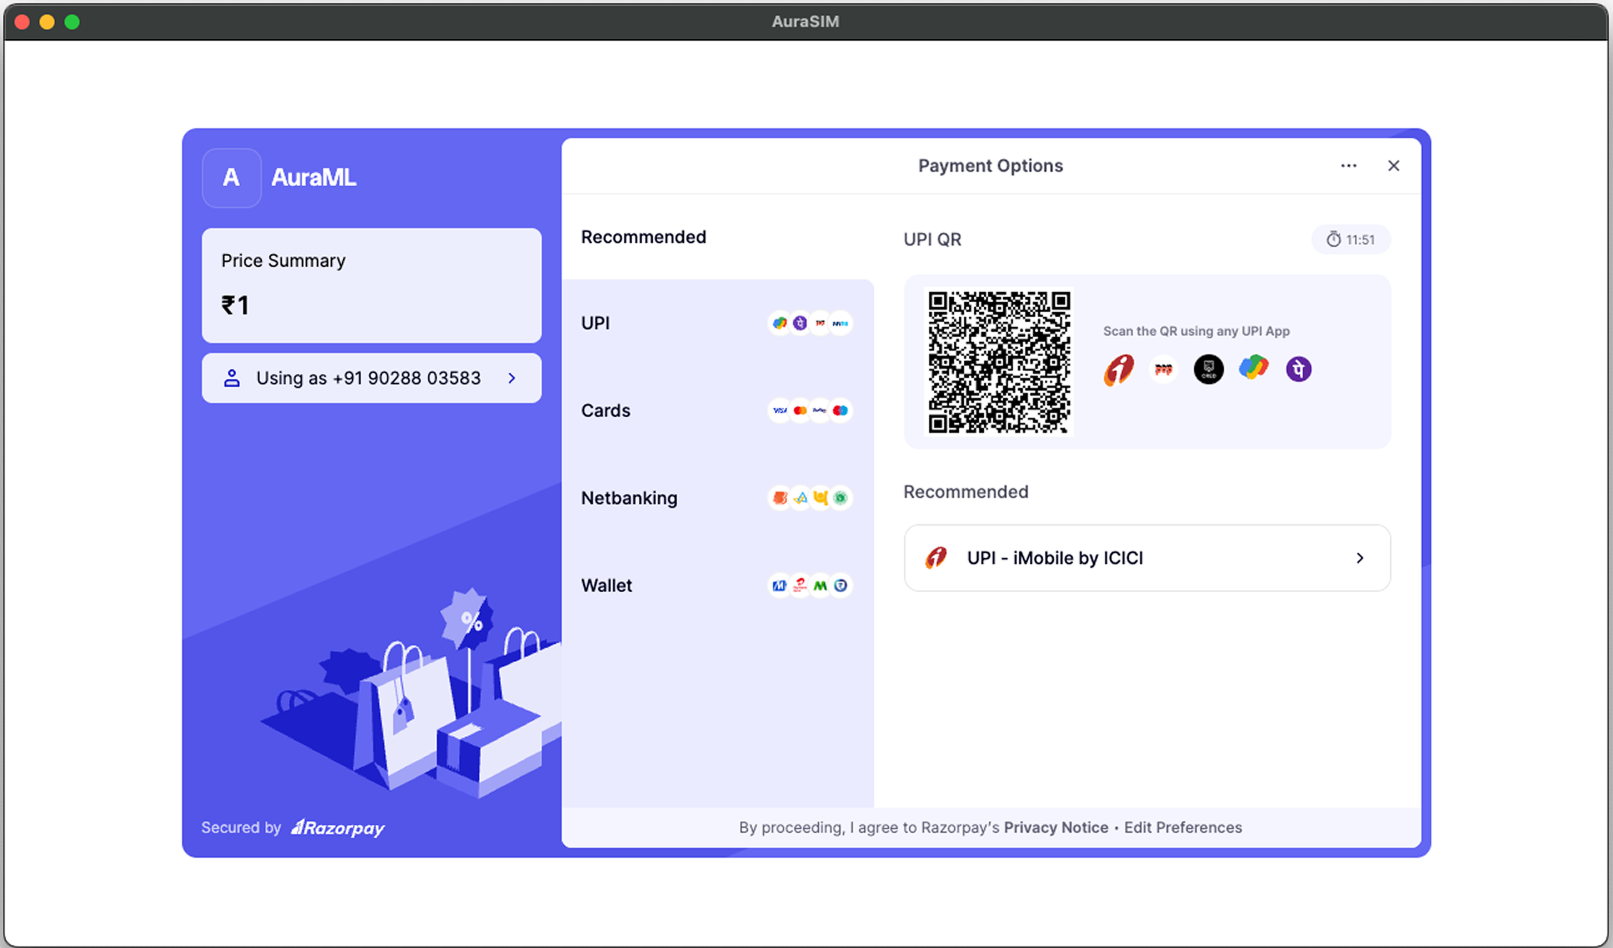
7.2 Enter Billing & Payment Method
- Enter required billing details and add a payment method (card / ACH as enabled). (Not shown if PII.)
7.3 Confirm Charge
- Review summary and confirm or proceed to the provider’s payment modal.
7.4 Billing Dashboard
- After successful activation you can review overall billing status.
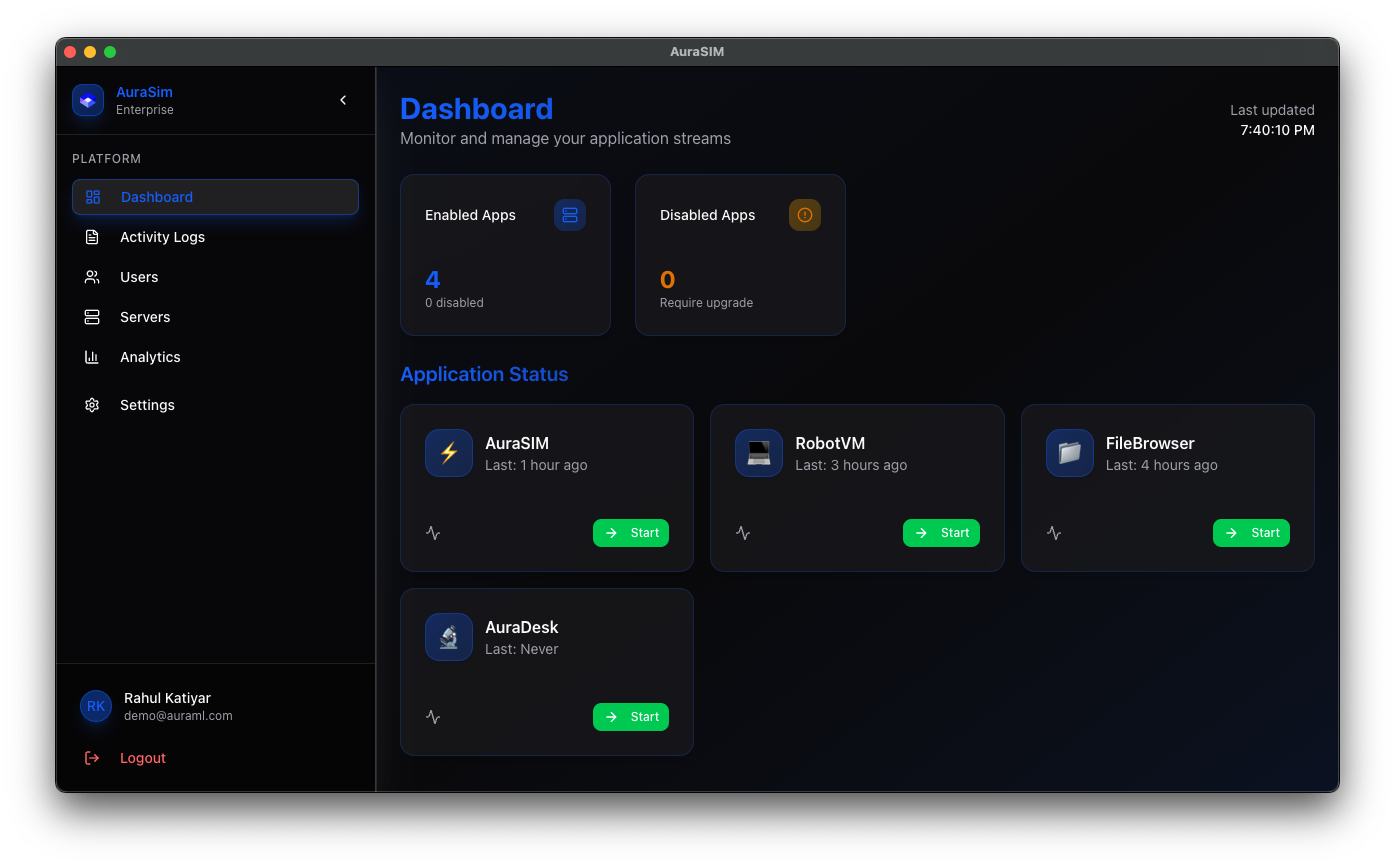
8. Dashboard Overview
After payment and onboarding, the Dashboard appears.
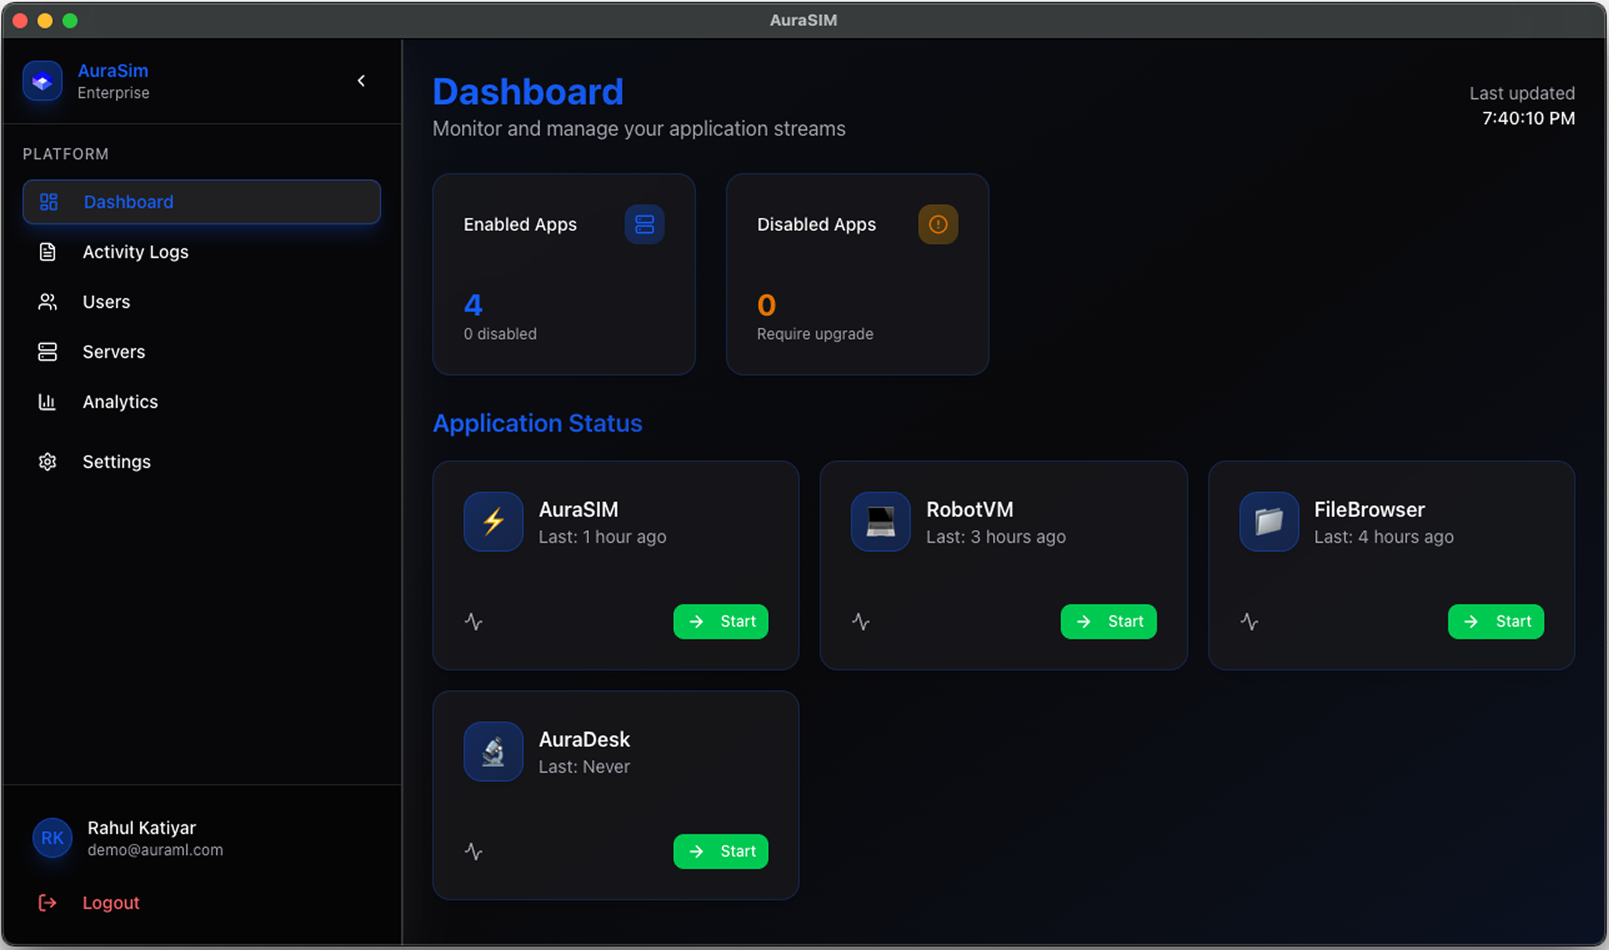
Typical sections:
- Active Applications (tiles): AuraSim, RobotVM, (others)
- Quick Actions (Start Simulation, Launch RobotVM, File Browser)
9. Application Modules
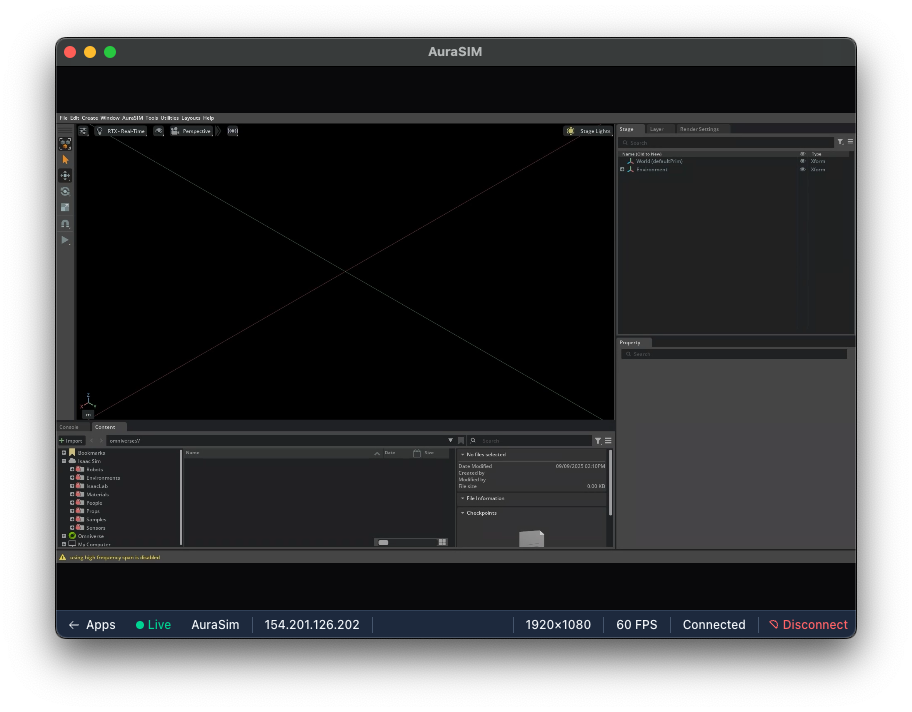
9.1 AuraSim (Isaac Sim Streaming)
- User selects a plan or is auto-routed if only one plan exists.
- From Dashboard, click the AuraSim tile.
- A session allocation process begins (provision GPU container)
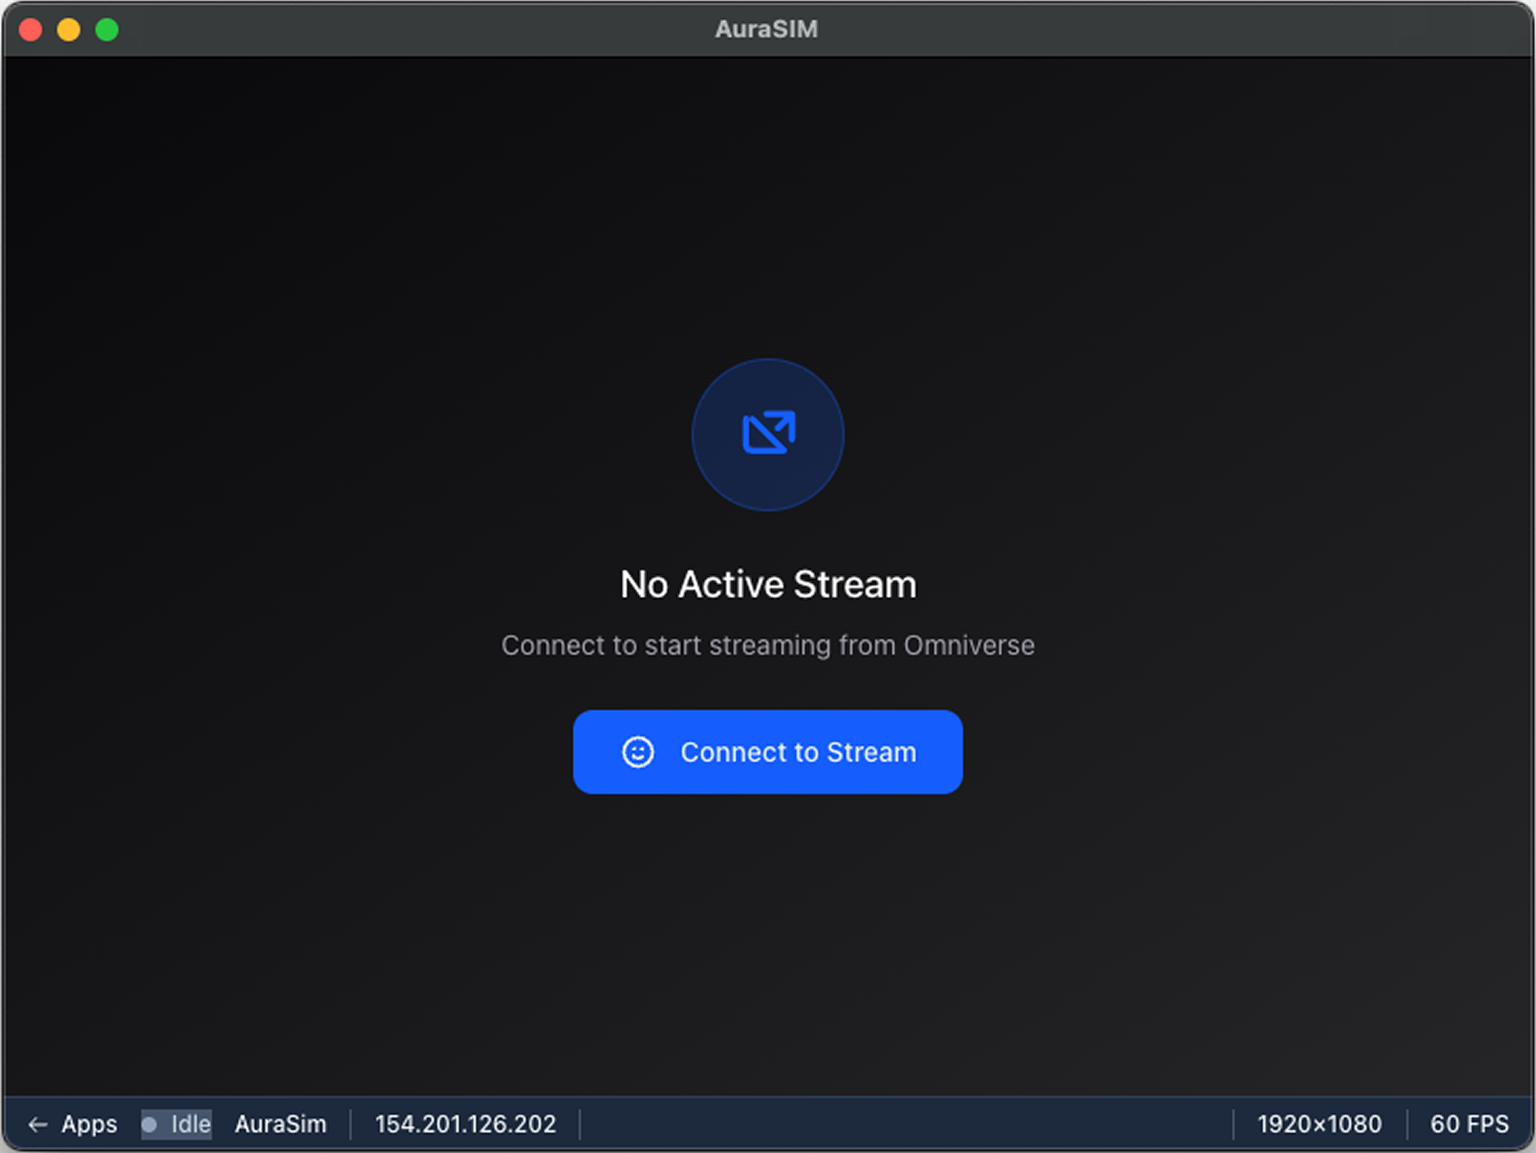
3. Click Connect to Stream. The stream initializes (handshake / decoder setup).
4. Once connected the Isaac Sim environment becomes interactive.
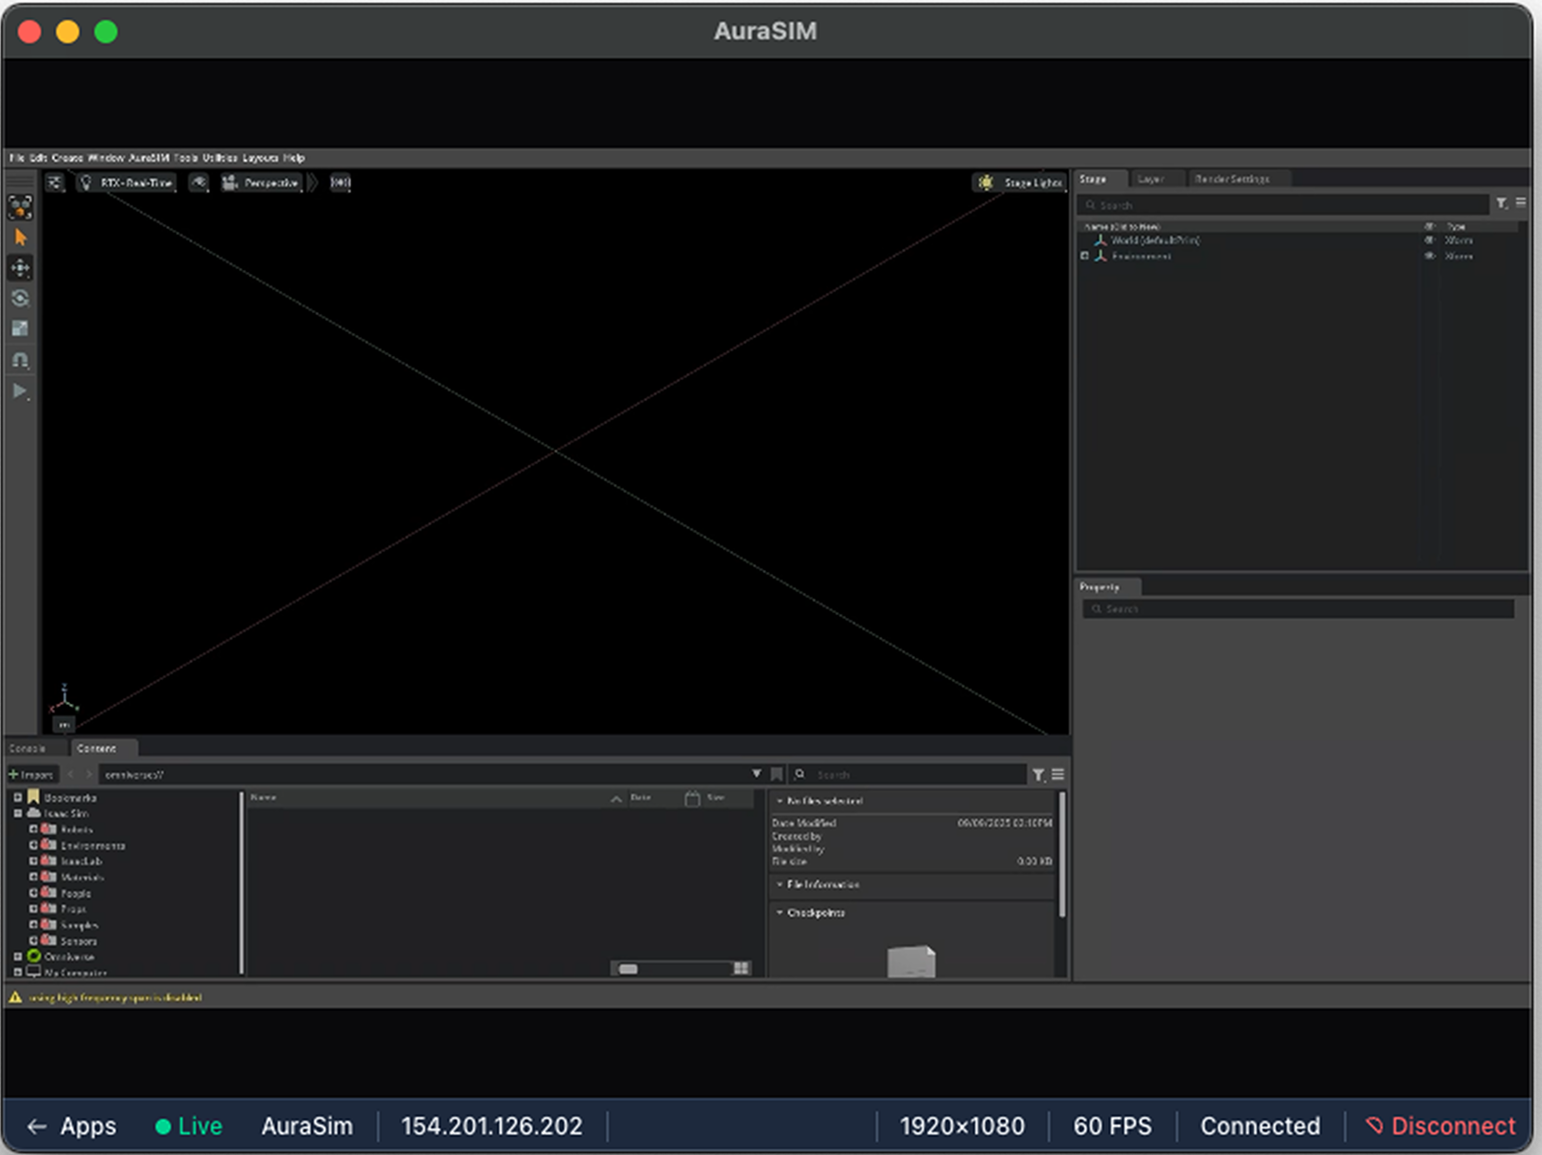
5. Use keyboard/mouse as in a local Isaac Sim instance.
File & Asset Handling:
- Project directory is persisted in tenant storage: /workspace/projects.
- Upload local files via file browser app or Git clone.
Performance Tips:
- Prefer wired or 5 GHz Wi-Fi.
- Lower resolution if latency >150 ms.
- Avoid parallel high-bandwidth sessions on same network.
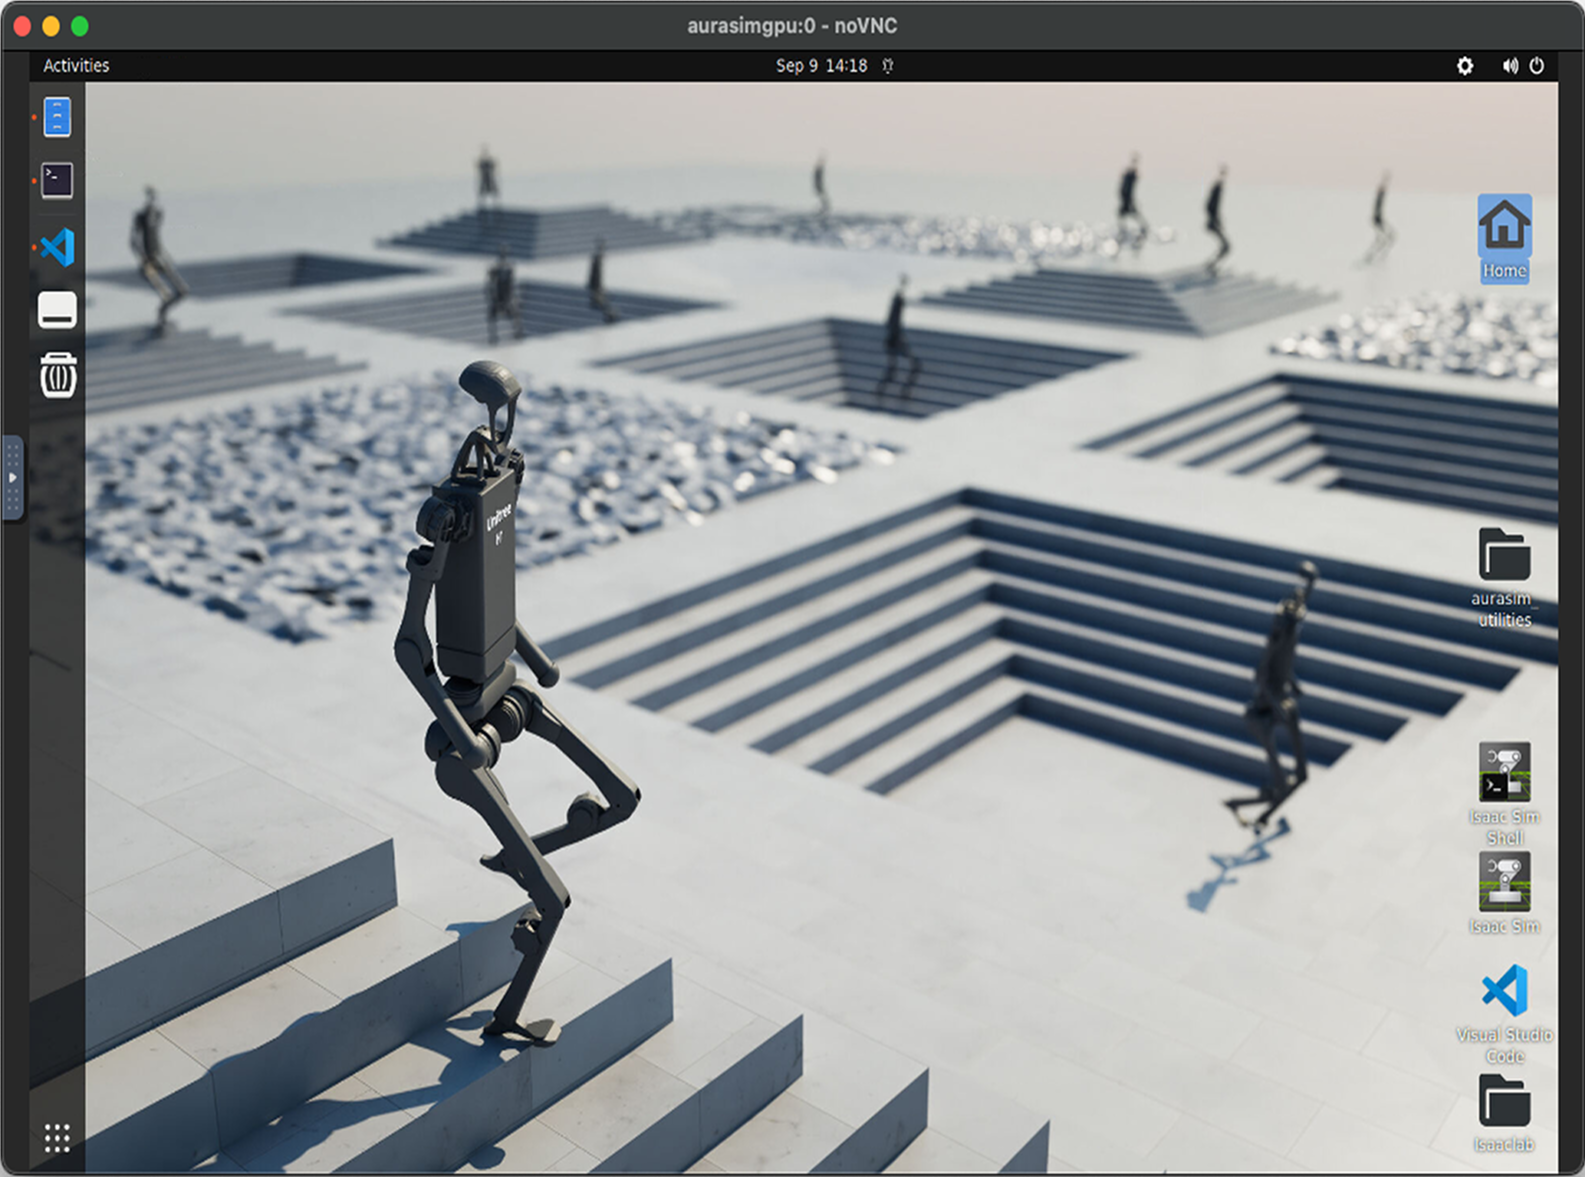
9.2 RobotVM (Ubuntu Developer VDI)
- Purpose: Provide a full Linux development environment with pre-configured tools.
- Features (adjust to reality):
- Ubuntu 22.04 LTS base
- VS Code + extensions (Python, ROS, Docker)
- ROS2 Humble
- CUDA toolkit + NVIDIA drivers (cloud GPU)
- Docker / container engine
- Git + SSH agent pre-wired
- Launch Steps:
- Click RobotVM tile.
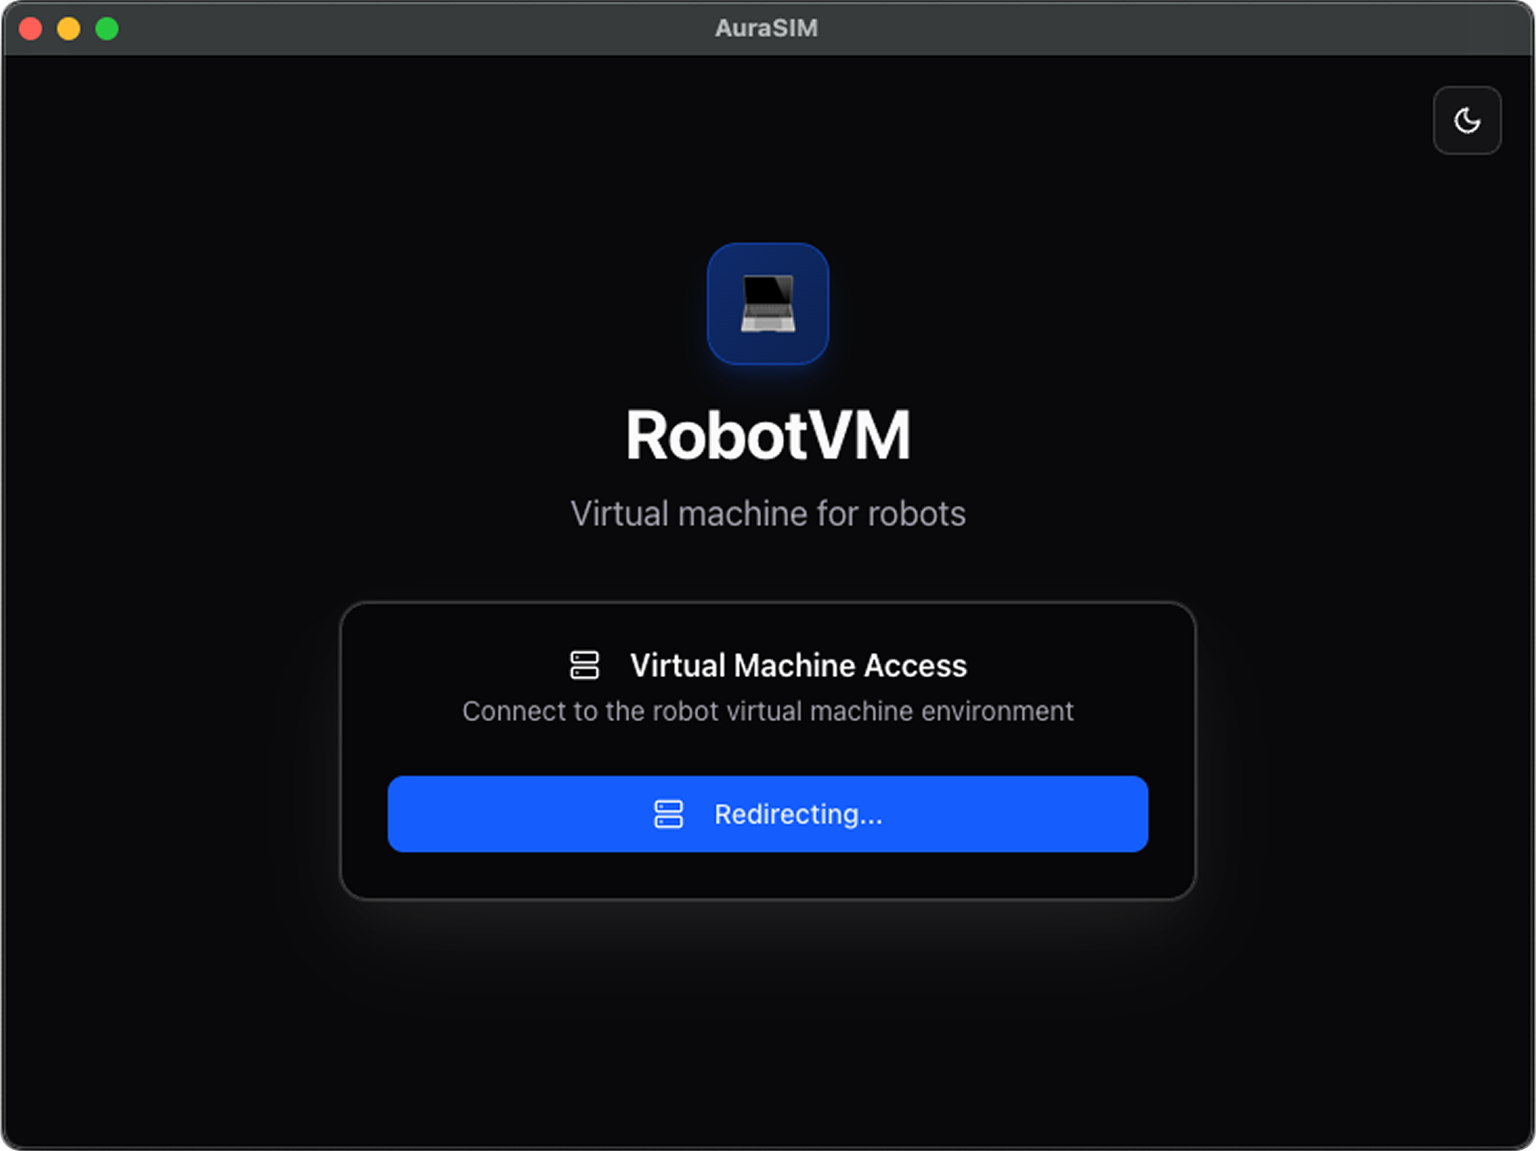
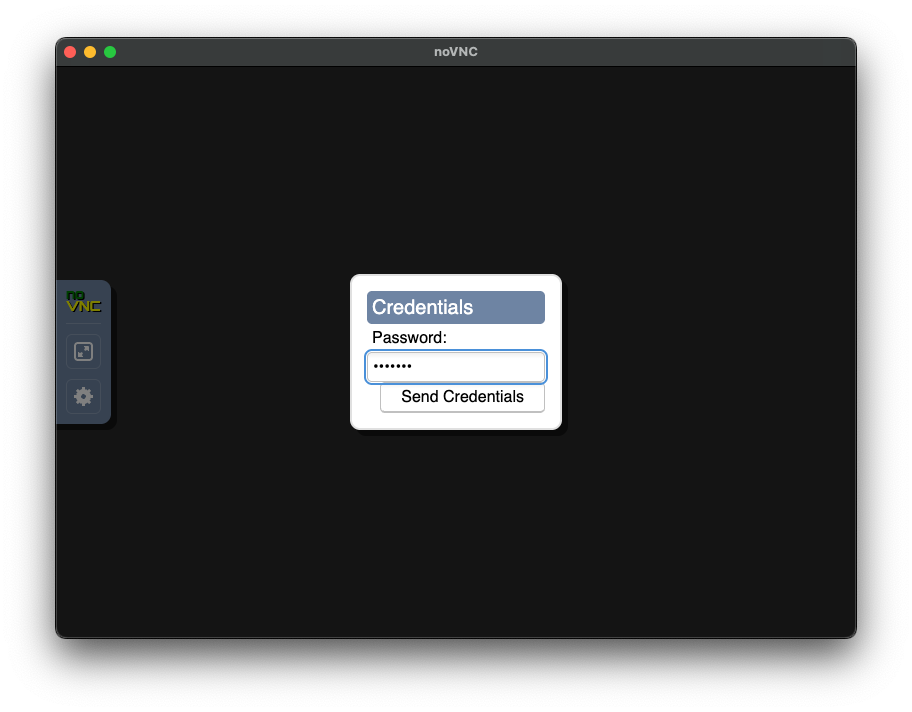
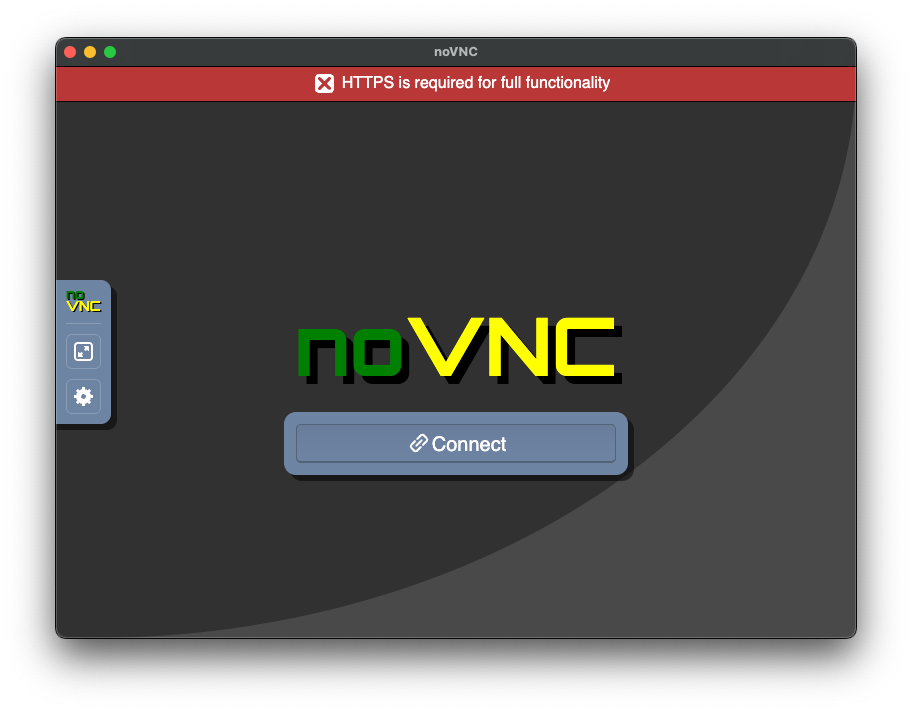
2. If prompted, connect through the gateway (noVNC connect screen).

3. Enter the provided access password.
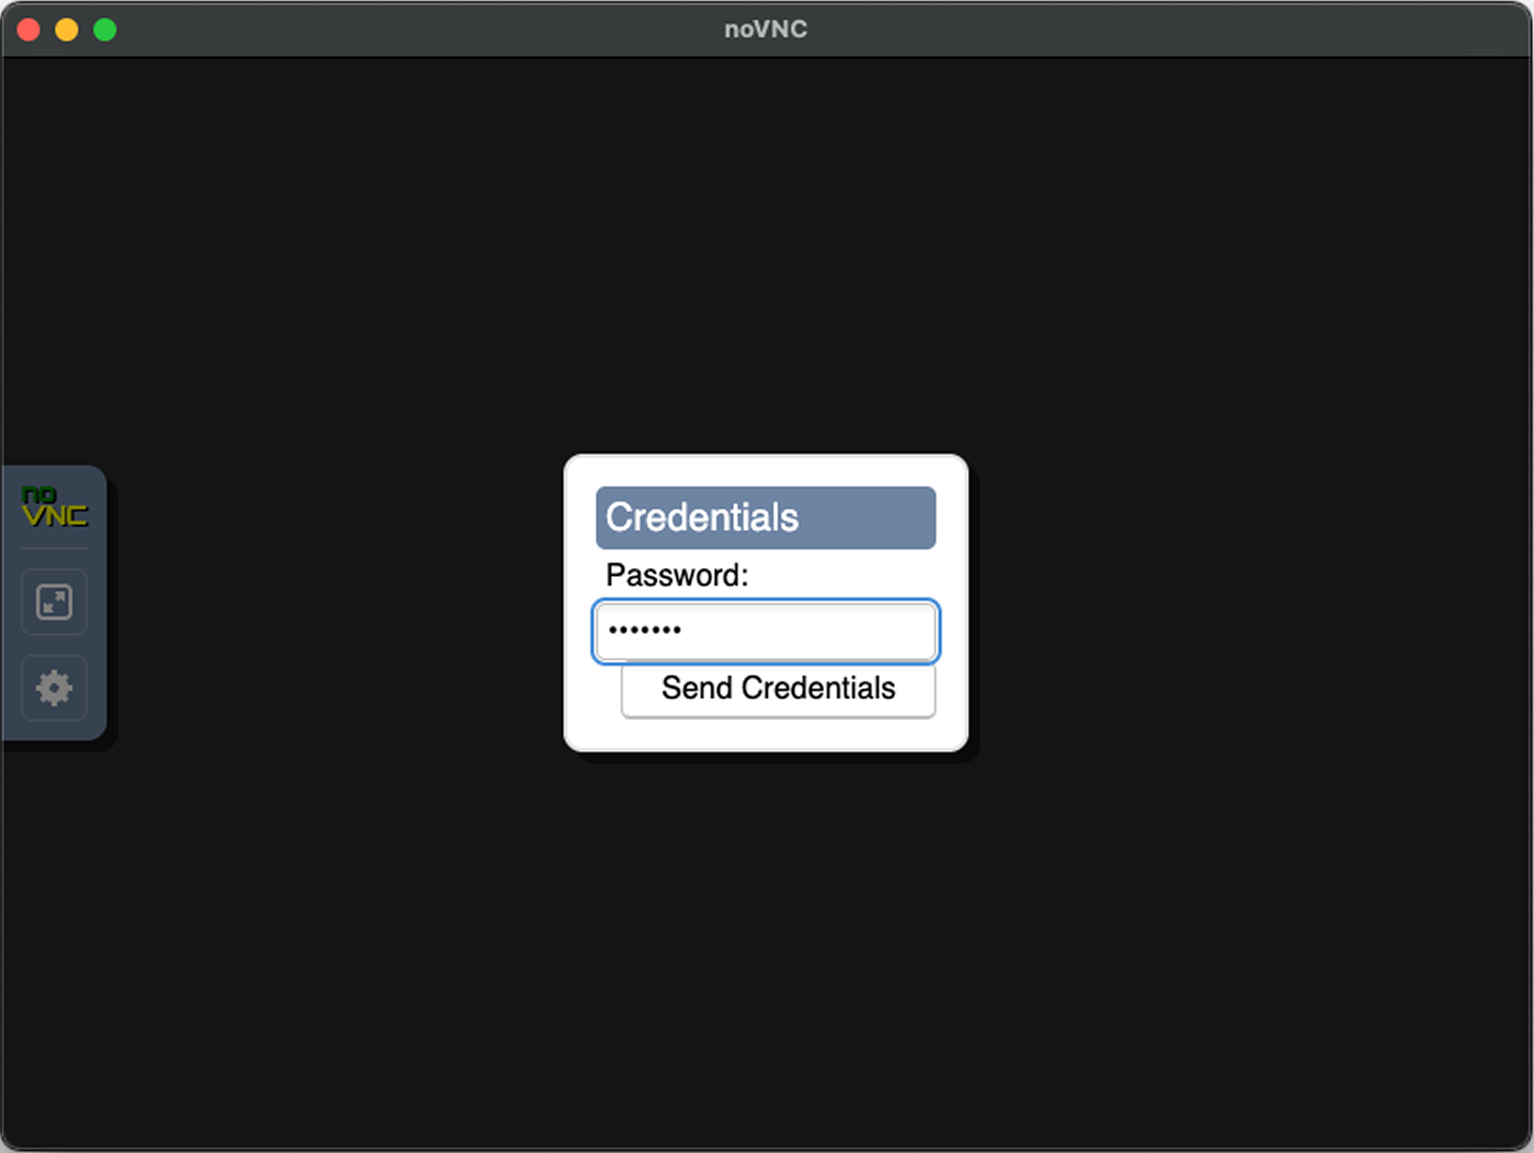
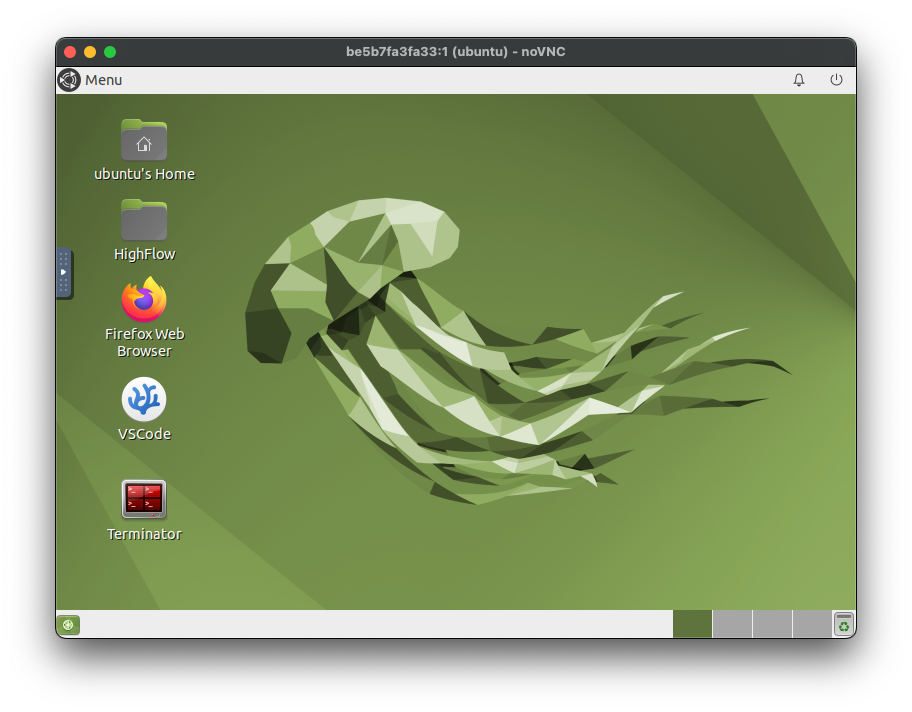
4. Session opens to Ubuntu desktop.

5. Open VS Code from dock / desktop icon..
Persistent Data:
- All user files and project data are stored in /persistentStorage, which remains available between sessions.
Transferring Files:
- Use built-in file upload.
- Or Git clone from your repo.
Ending Session:
- Click End Session to release compute; unsaved processes terminate.
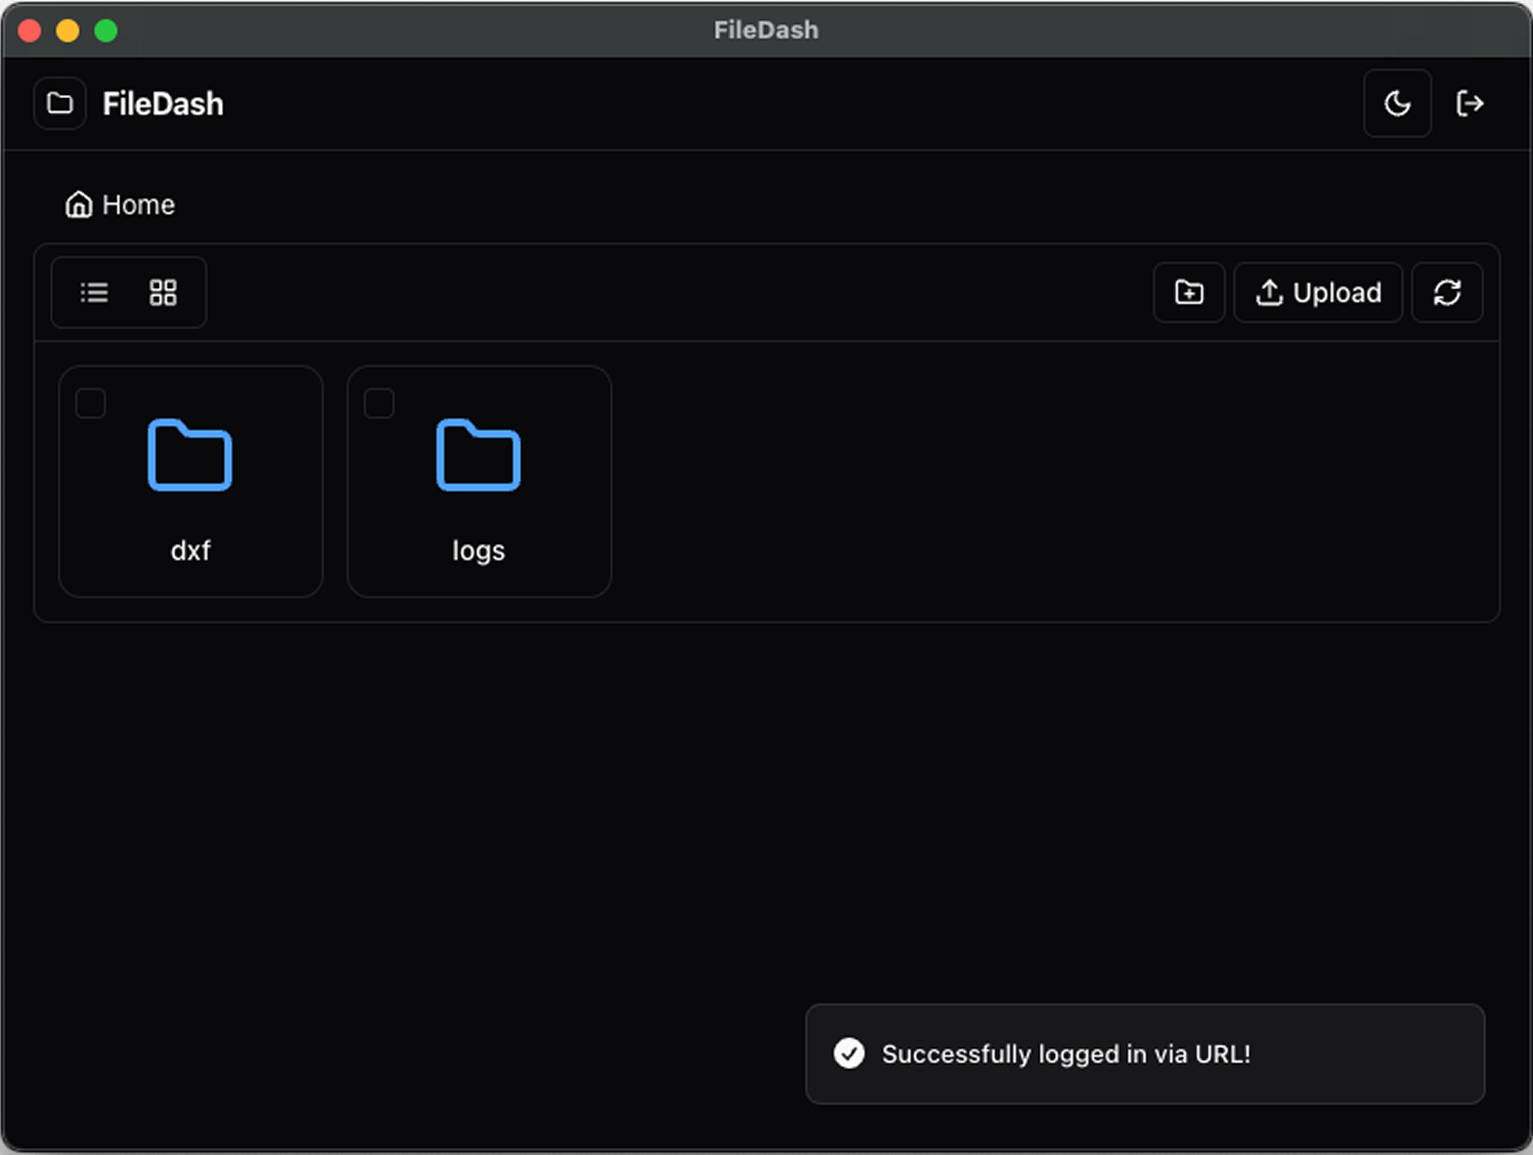
9.3 FileBrowser (Shared Storage Access)
- Purpose: Provide a simple interface to upload, download, organize, and share files used by both AuraSim (Isaac Sim) and RobotVM sessions.
- Key Characteristics:
- Access scope: The FileBrowser is mounted directly onto the tenant persistent storage directory: /persistentStorage.
- Shared workflow: Assets placed in /persistentStorage become immediately available inside both AuraSim and RobotVM sessions (typically mounted at the same path or symlinked within /workspace/projects).
- Supported operations: Upload (drag & drop or select), download, create folders, rename, delete, and refresh listing.
- Recommended usage: Store all simulation scenes, USD assets, scripts, datasets, logs, and generated artifacts here for durability across sessions.
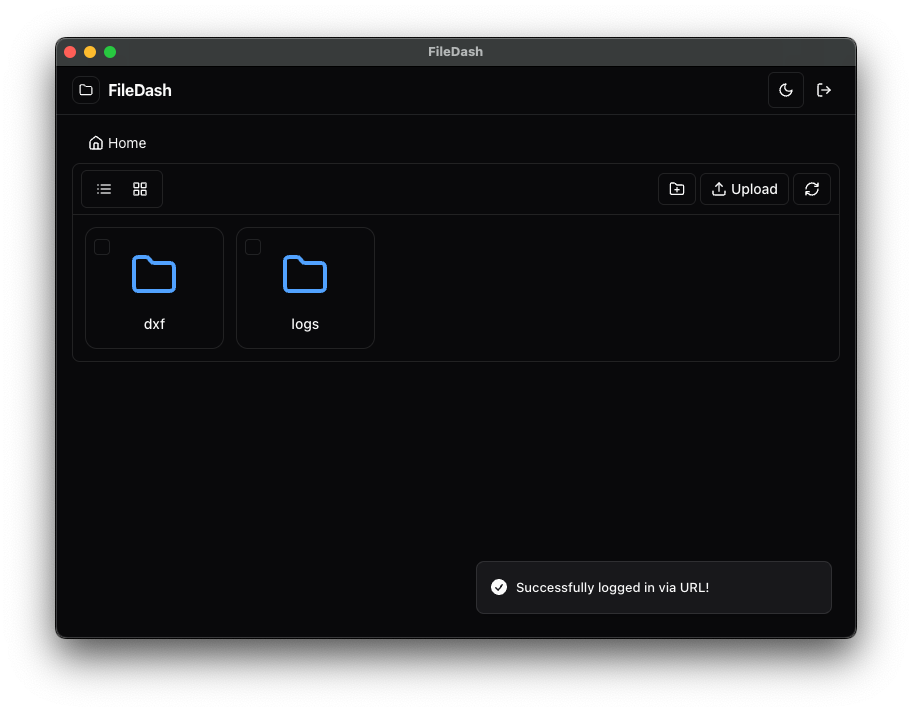
- Usage Steps:
- From the Dashboard click the FileBrowser (or FileDash) tile.
- Navigate the folder tree; default view shows top-level folders (e.g., dxf, logs).
- Click Upload to add files; large files (>2 GB) should be compressed before upload for faster transfer.
- To use an uploaded asset in AuraSim, reference its path under /persistentStorage within the Isaac Sim file picker.
- To retrieve output (logs, generated meshes, datasets) download them from the corresponding folder.
- Persistence & Backup:
- Data in /persistentStorage persists across all user sessions and reboots.
- It is included in scheduled platform backups (see Section 10 for retention policies) if your plan enables backups.
- Performance Tips:
- Organize large projects into subfolders (e.g., projects/<project-name>).
- Clean up obsolete log archives to stay within storage quotas.
- Screenshot:
9.4 AuraDesk (Optional)
- Secondary desktop environment (if enabled) for office-type workflows or lightweight tasks distinct from RobotVM’s development focus.
10. Data Persistence & Storage
- Simulation artifacts: persisted under the tenant storage bucket (object store reference).
- Logs: Retained 7 / 30 / 90 days (define per plan).
- Backups: Nightly snapshots (state retention policy).
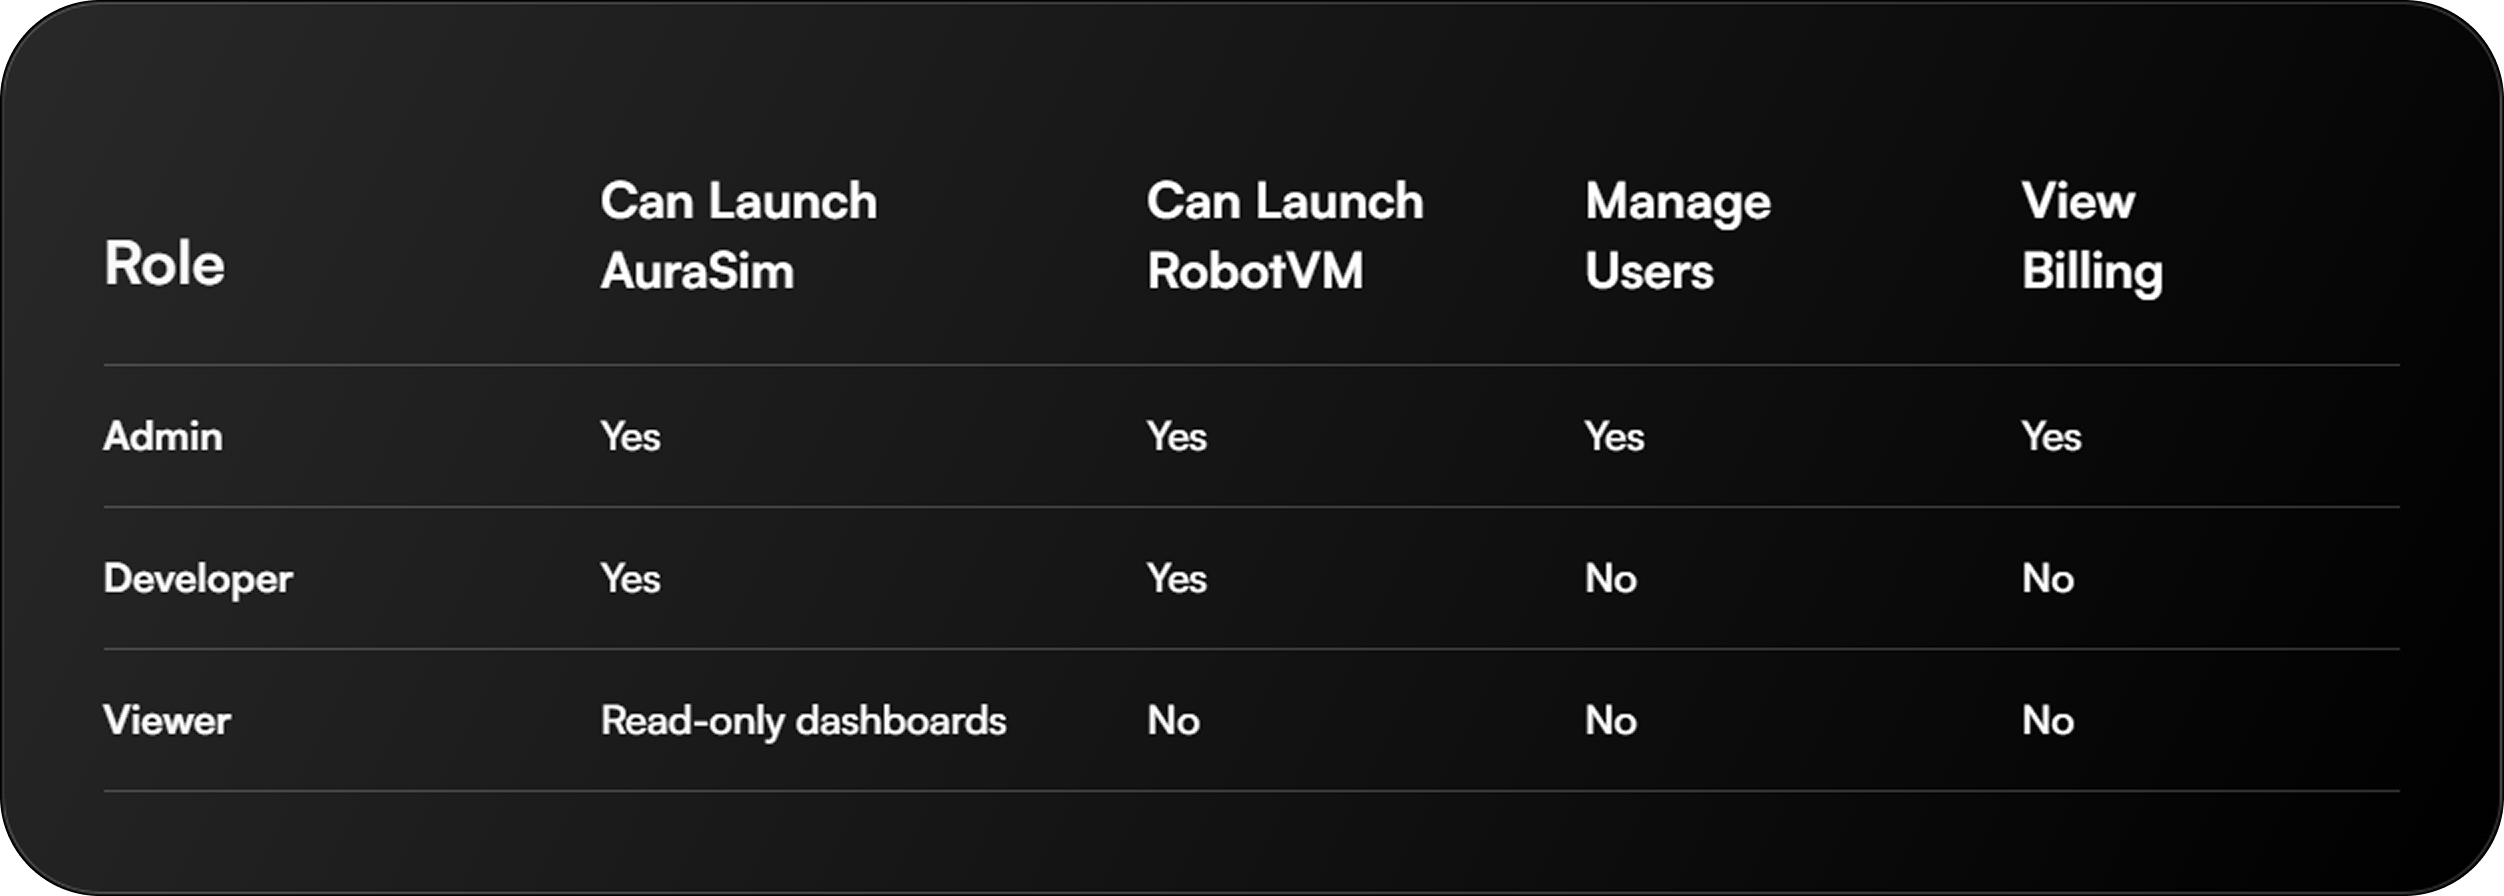
11. User Roles & Permissions (Example Matrix)
12. Logging & Auditing
- Access logs: Login, session start/stop events.
- Simulation logs: Available via session log panel.
- Audit export: (If available) downloadable CSV / API.
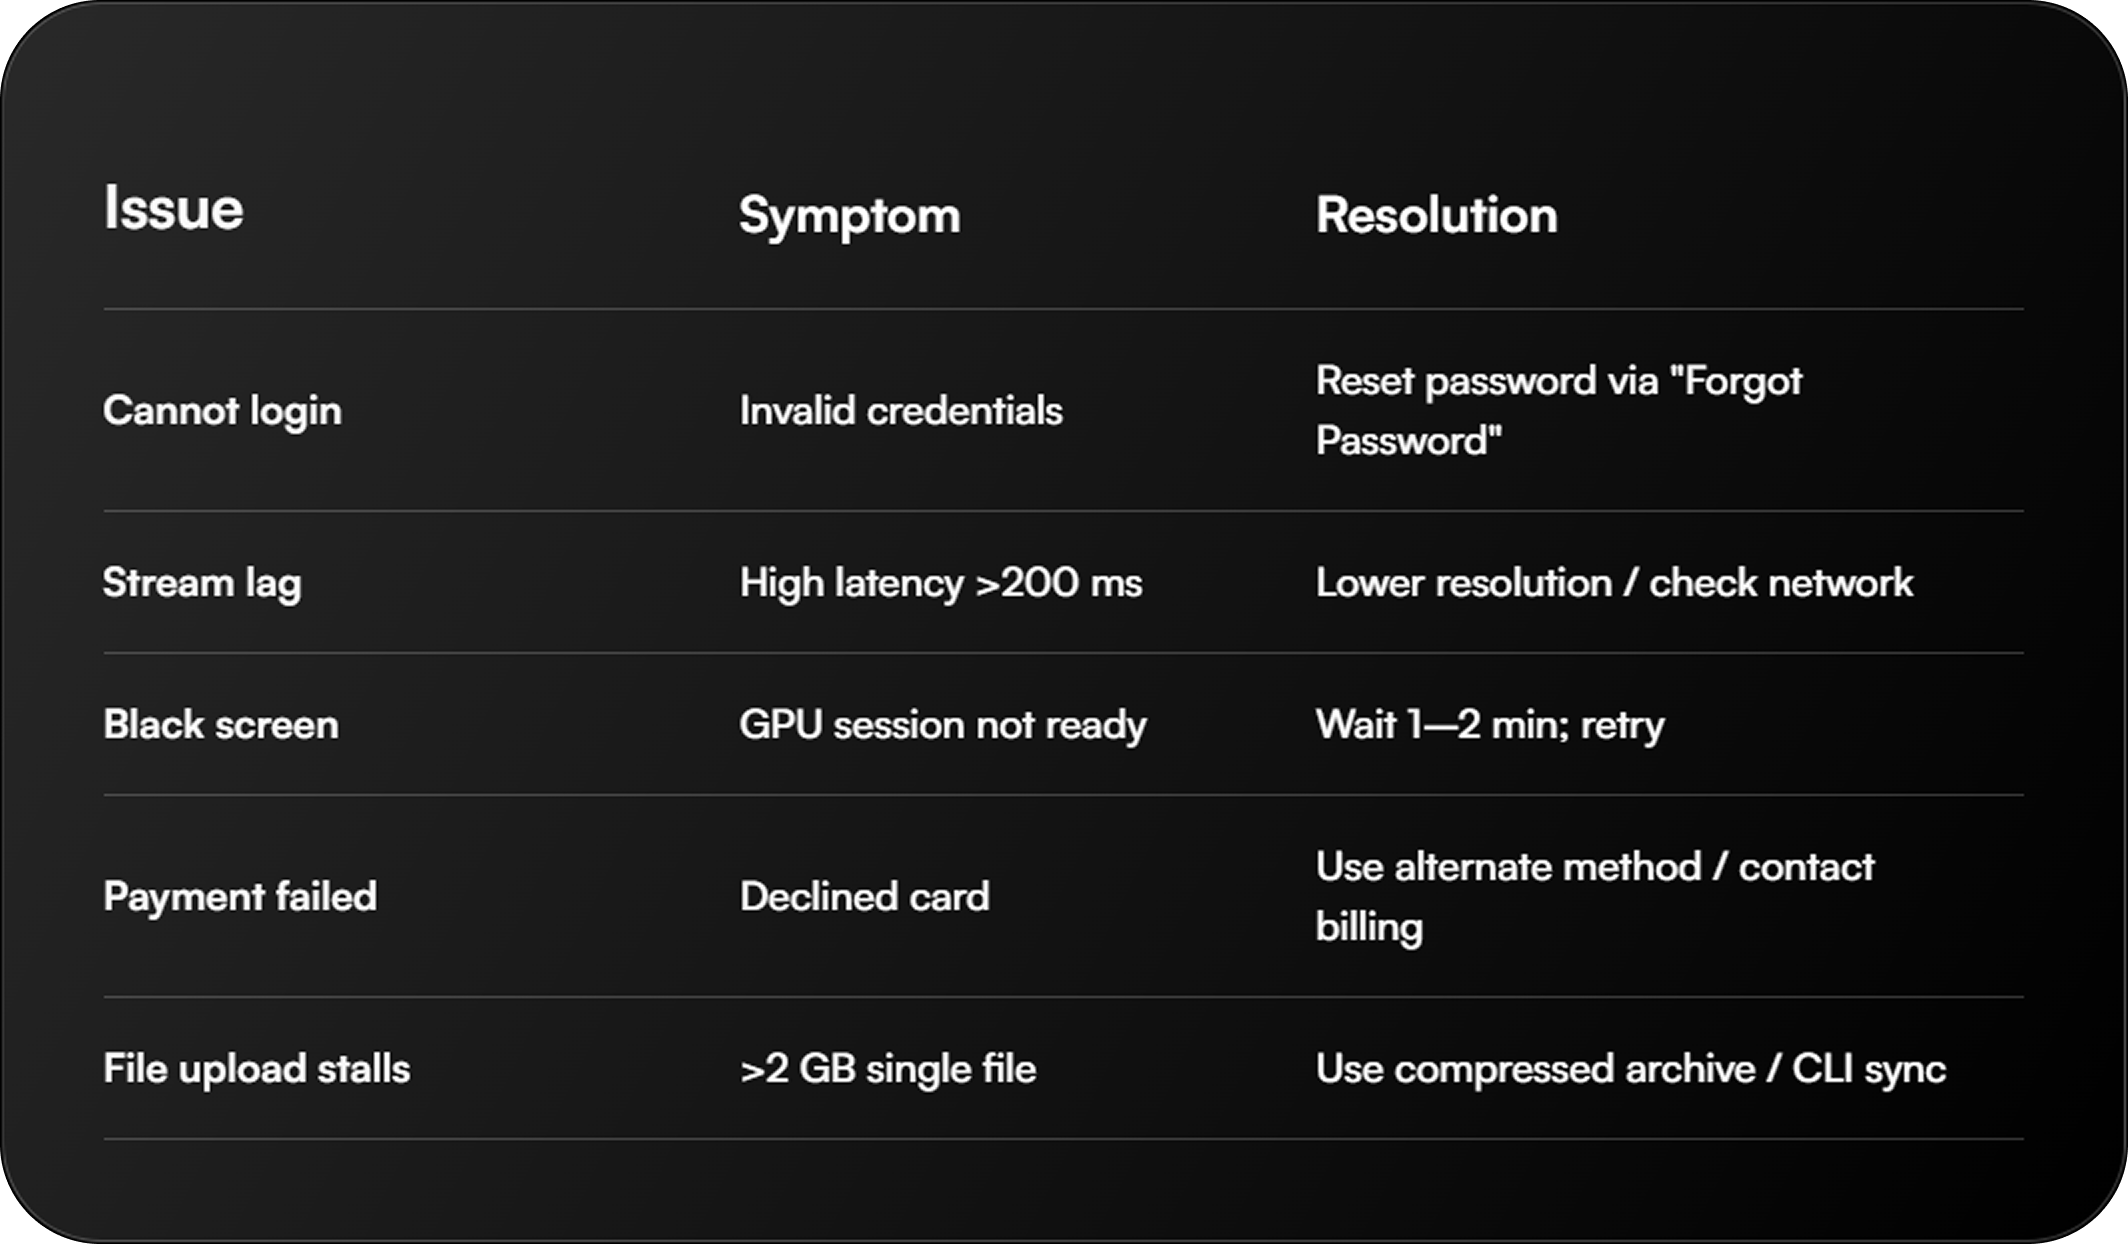
13. Troubleshooting
14. Best Practices
- End unused sessions to save compute credits.
- Use version control for simulation scripts.
- Tag sessions with purpose (QA, R&D) if metadata feature exists.
15. Security Reminders
- Do not share credentials.
- Rotate API keys periodically.
- Store sensitive models/data only if contractually permitted.
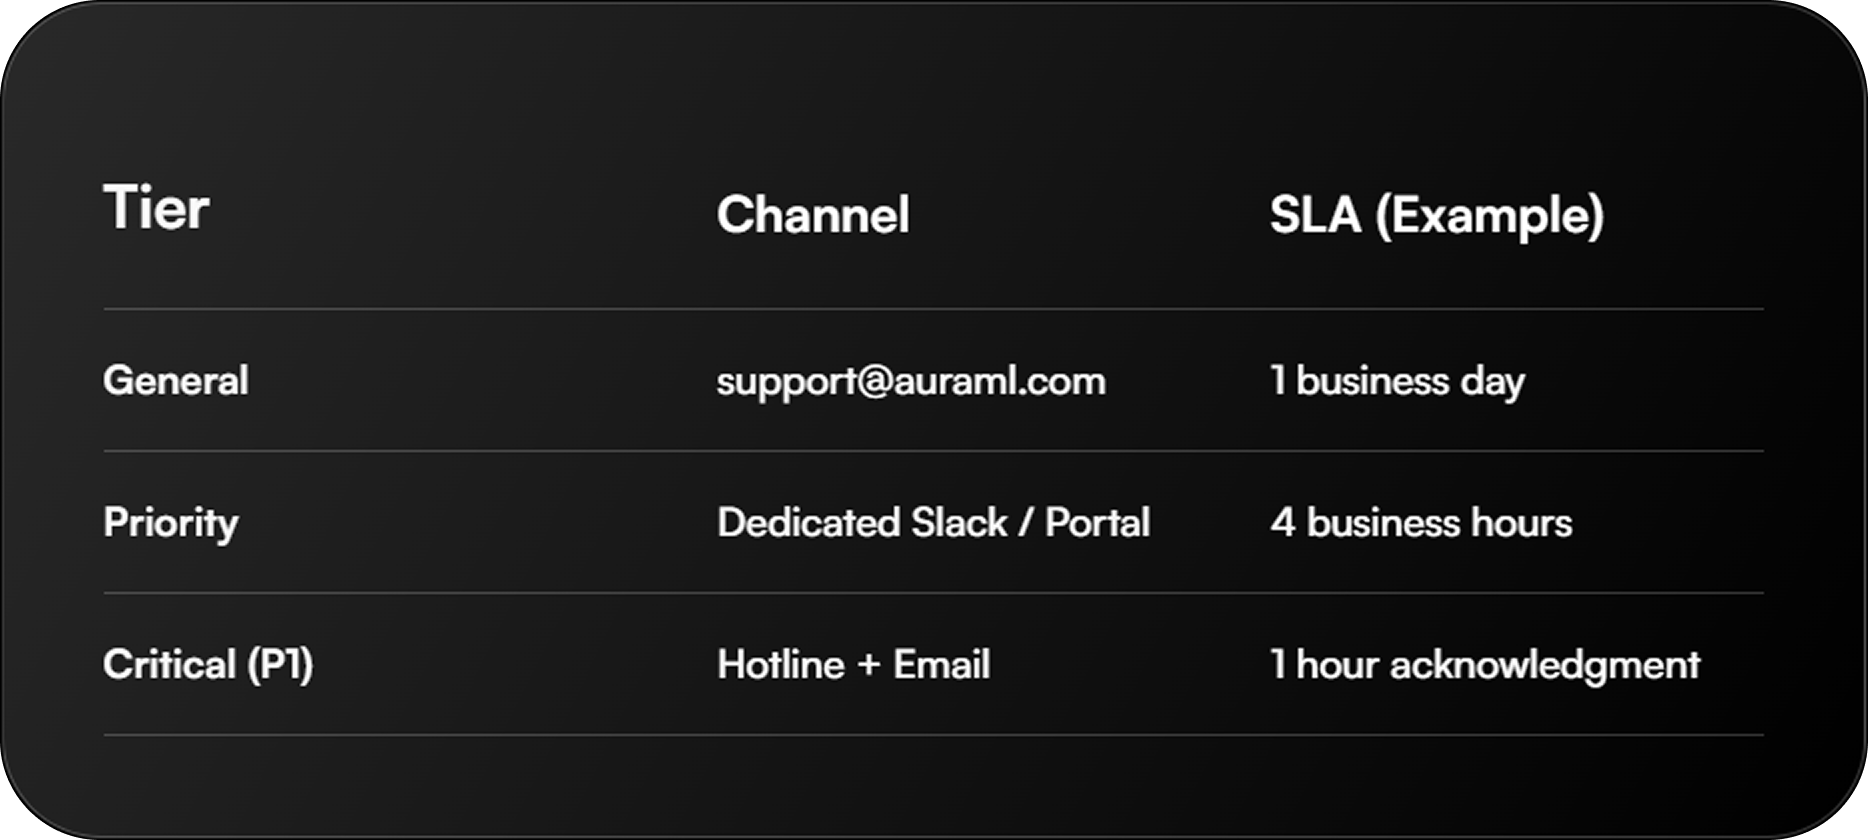
16. Support & Escalation
17. Release Notes & Updates
Release notes and client version changes are published in the customer portal. Update the desktop client when prompted to ensure compatibility with backend services.
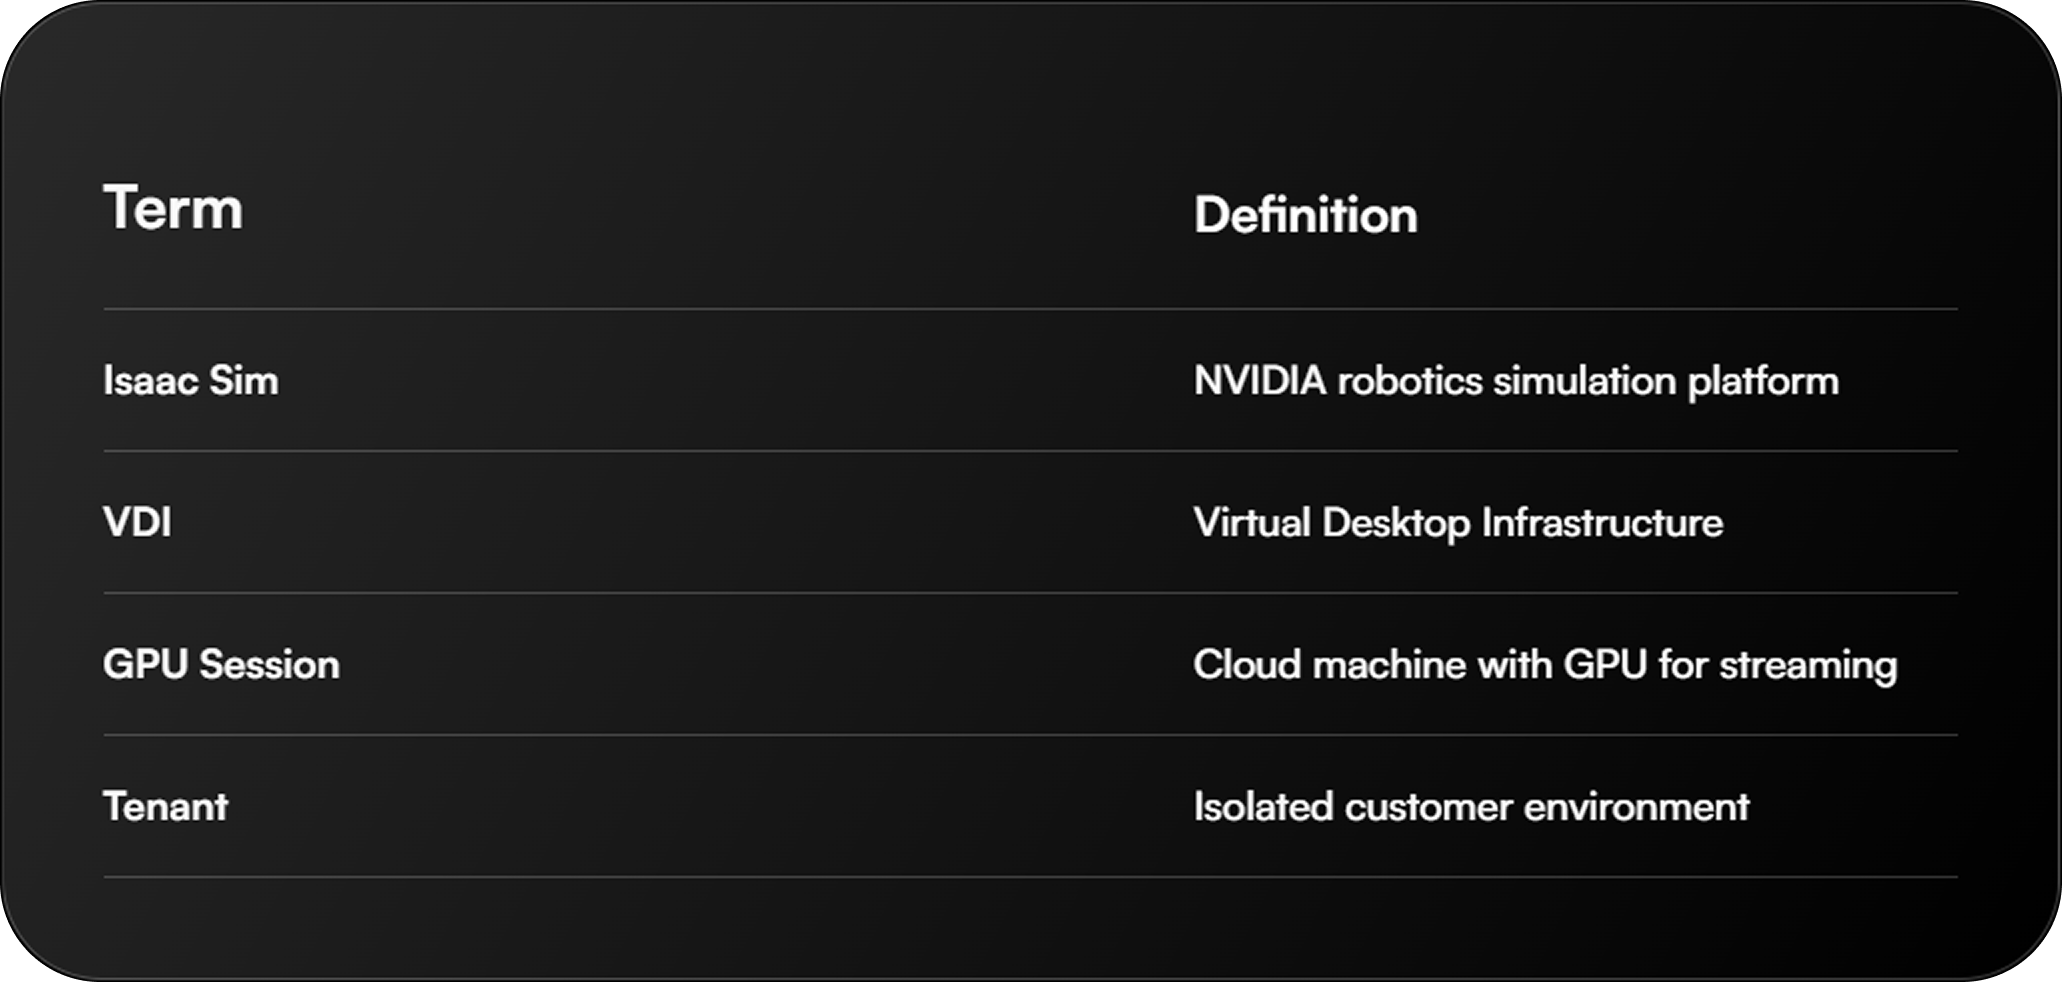
18. Glossary
19. Appendix
19.1 Items To Finalize Prior to Release
- Exact download URL
- Exact roles & permission matrix
- Storage retention durations
- Idle timeout thresholds
- Payment provider + accepted methods
- API reference link
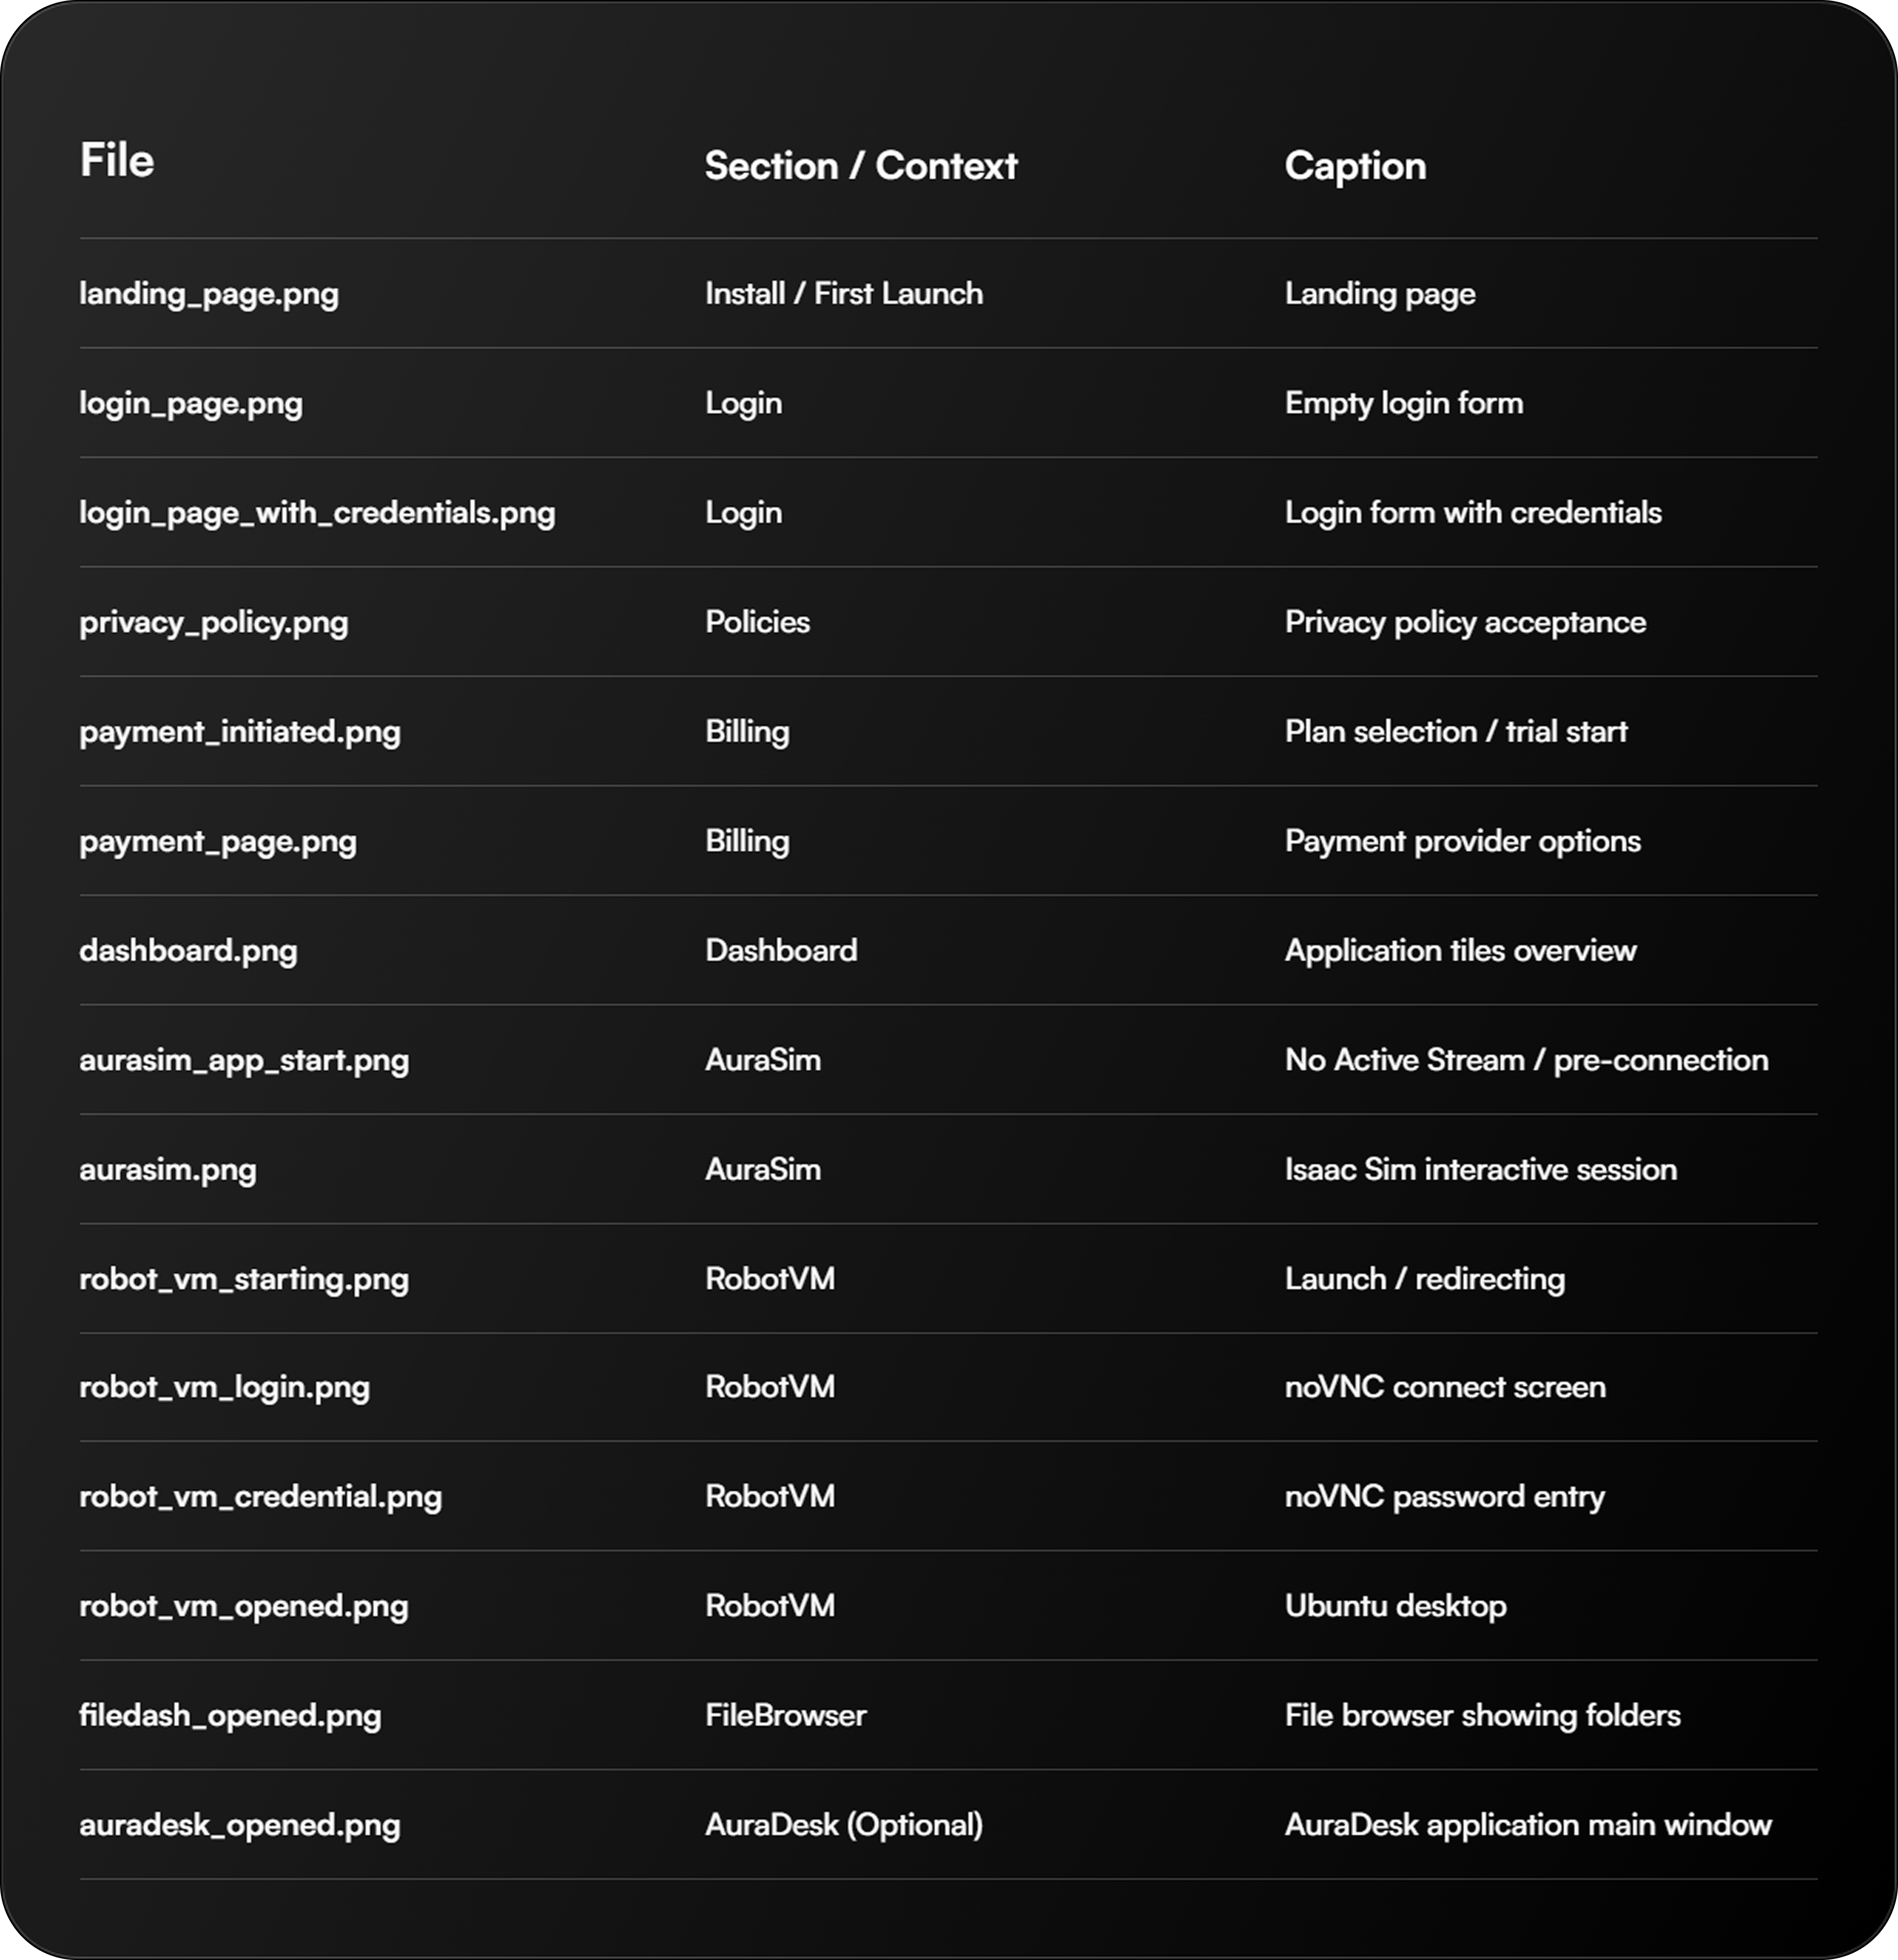
19.2 Screenshot Mapping Table (Current Assets)
19.3 Optional App Screenshots
- AuraDesk
Images